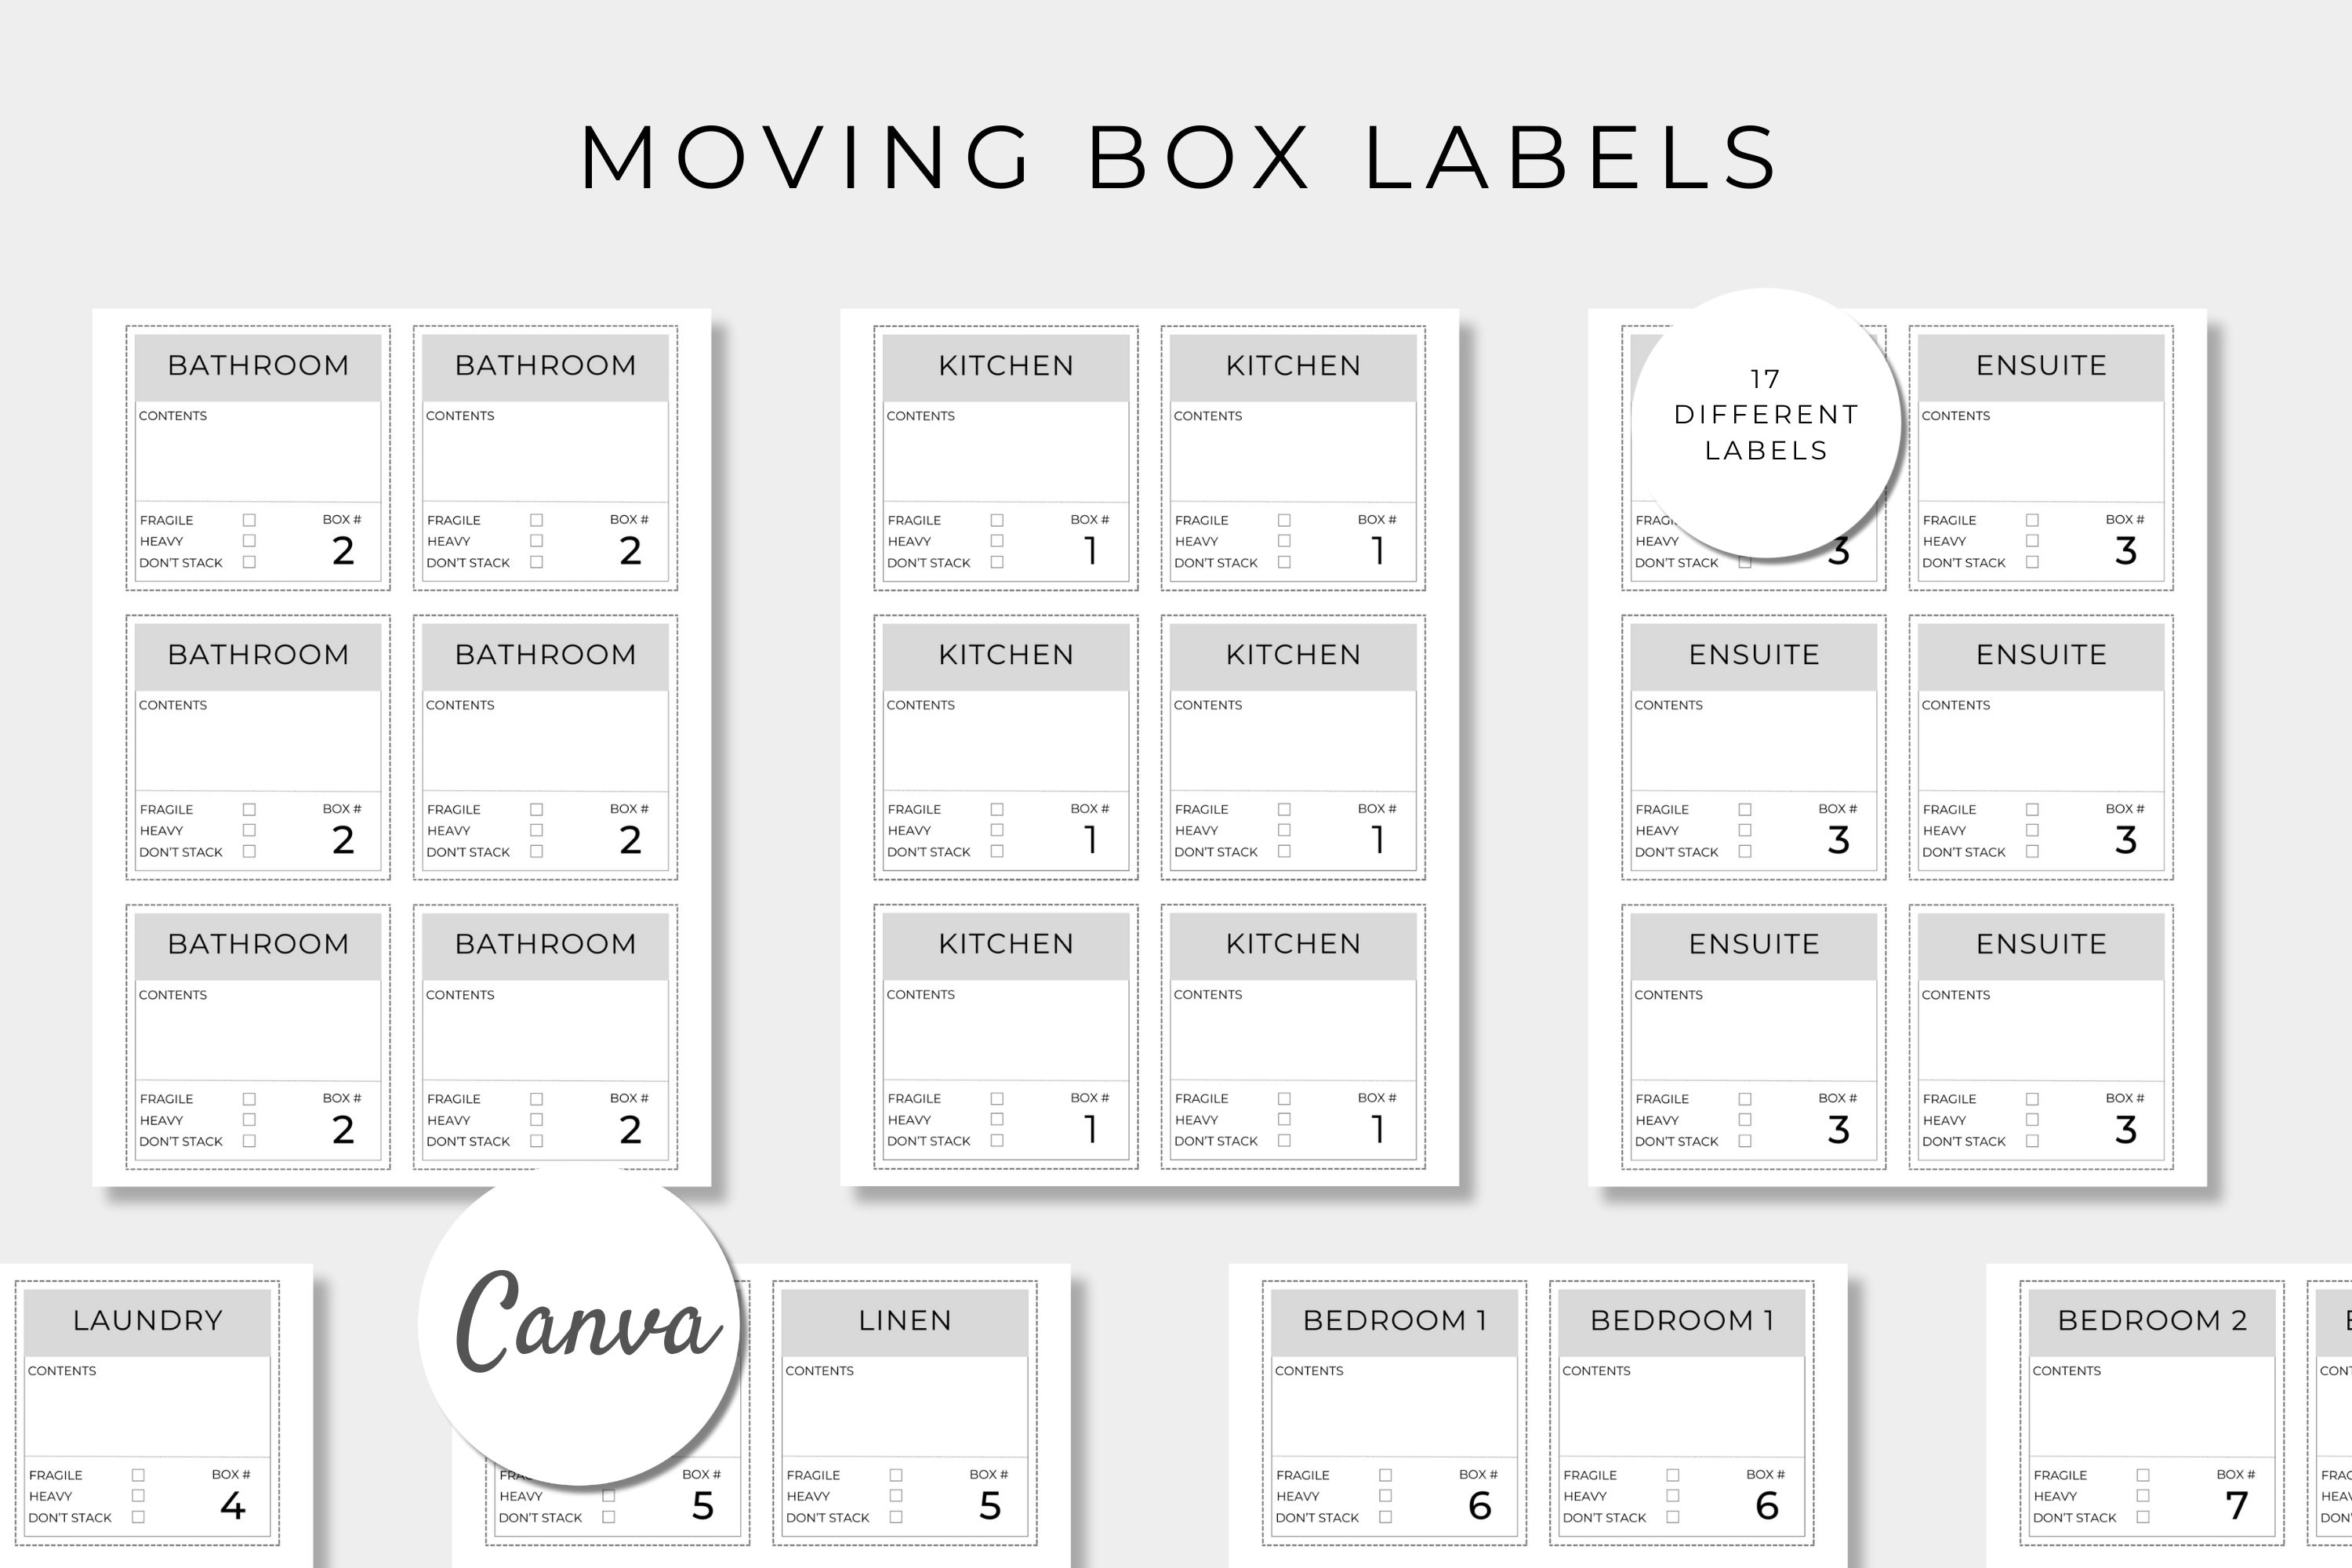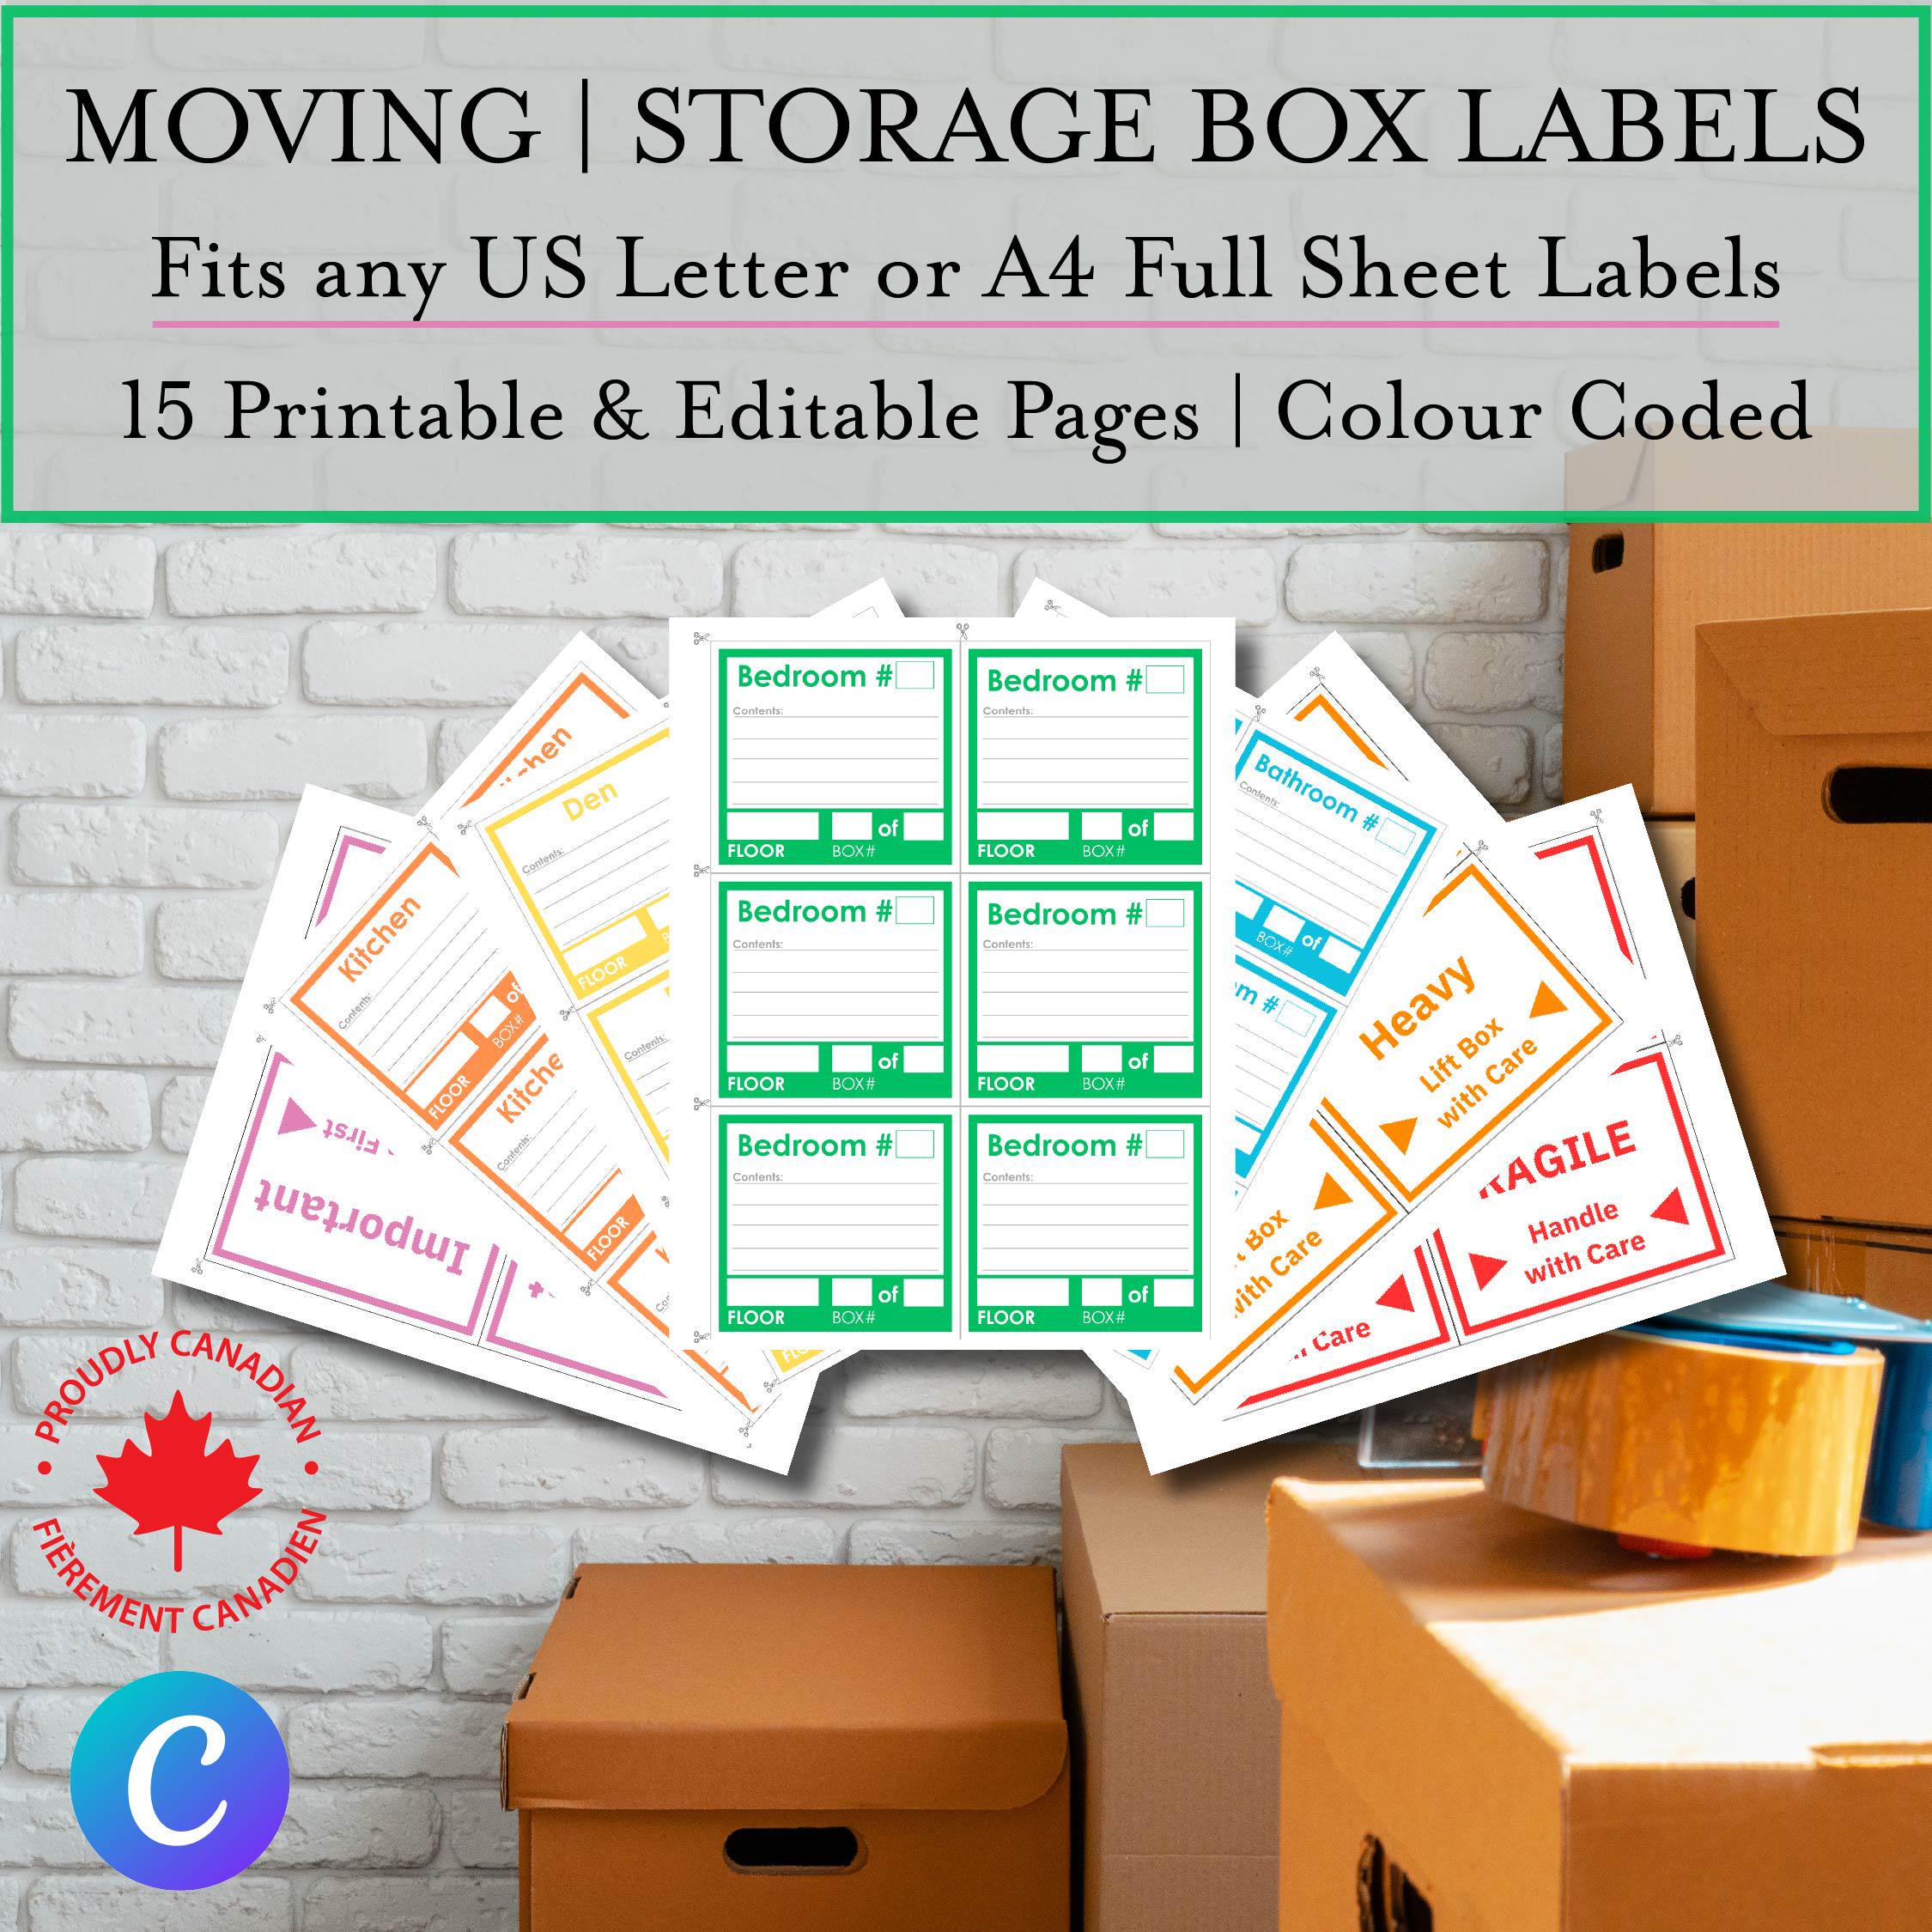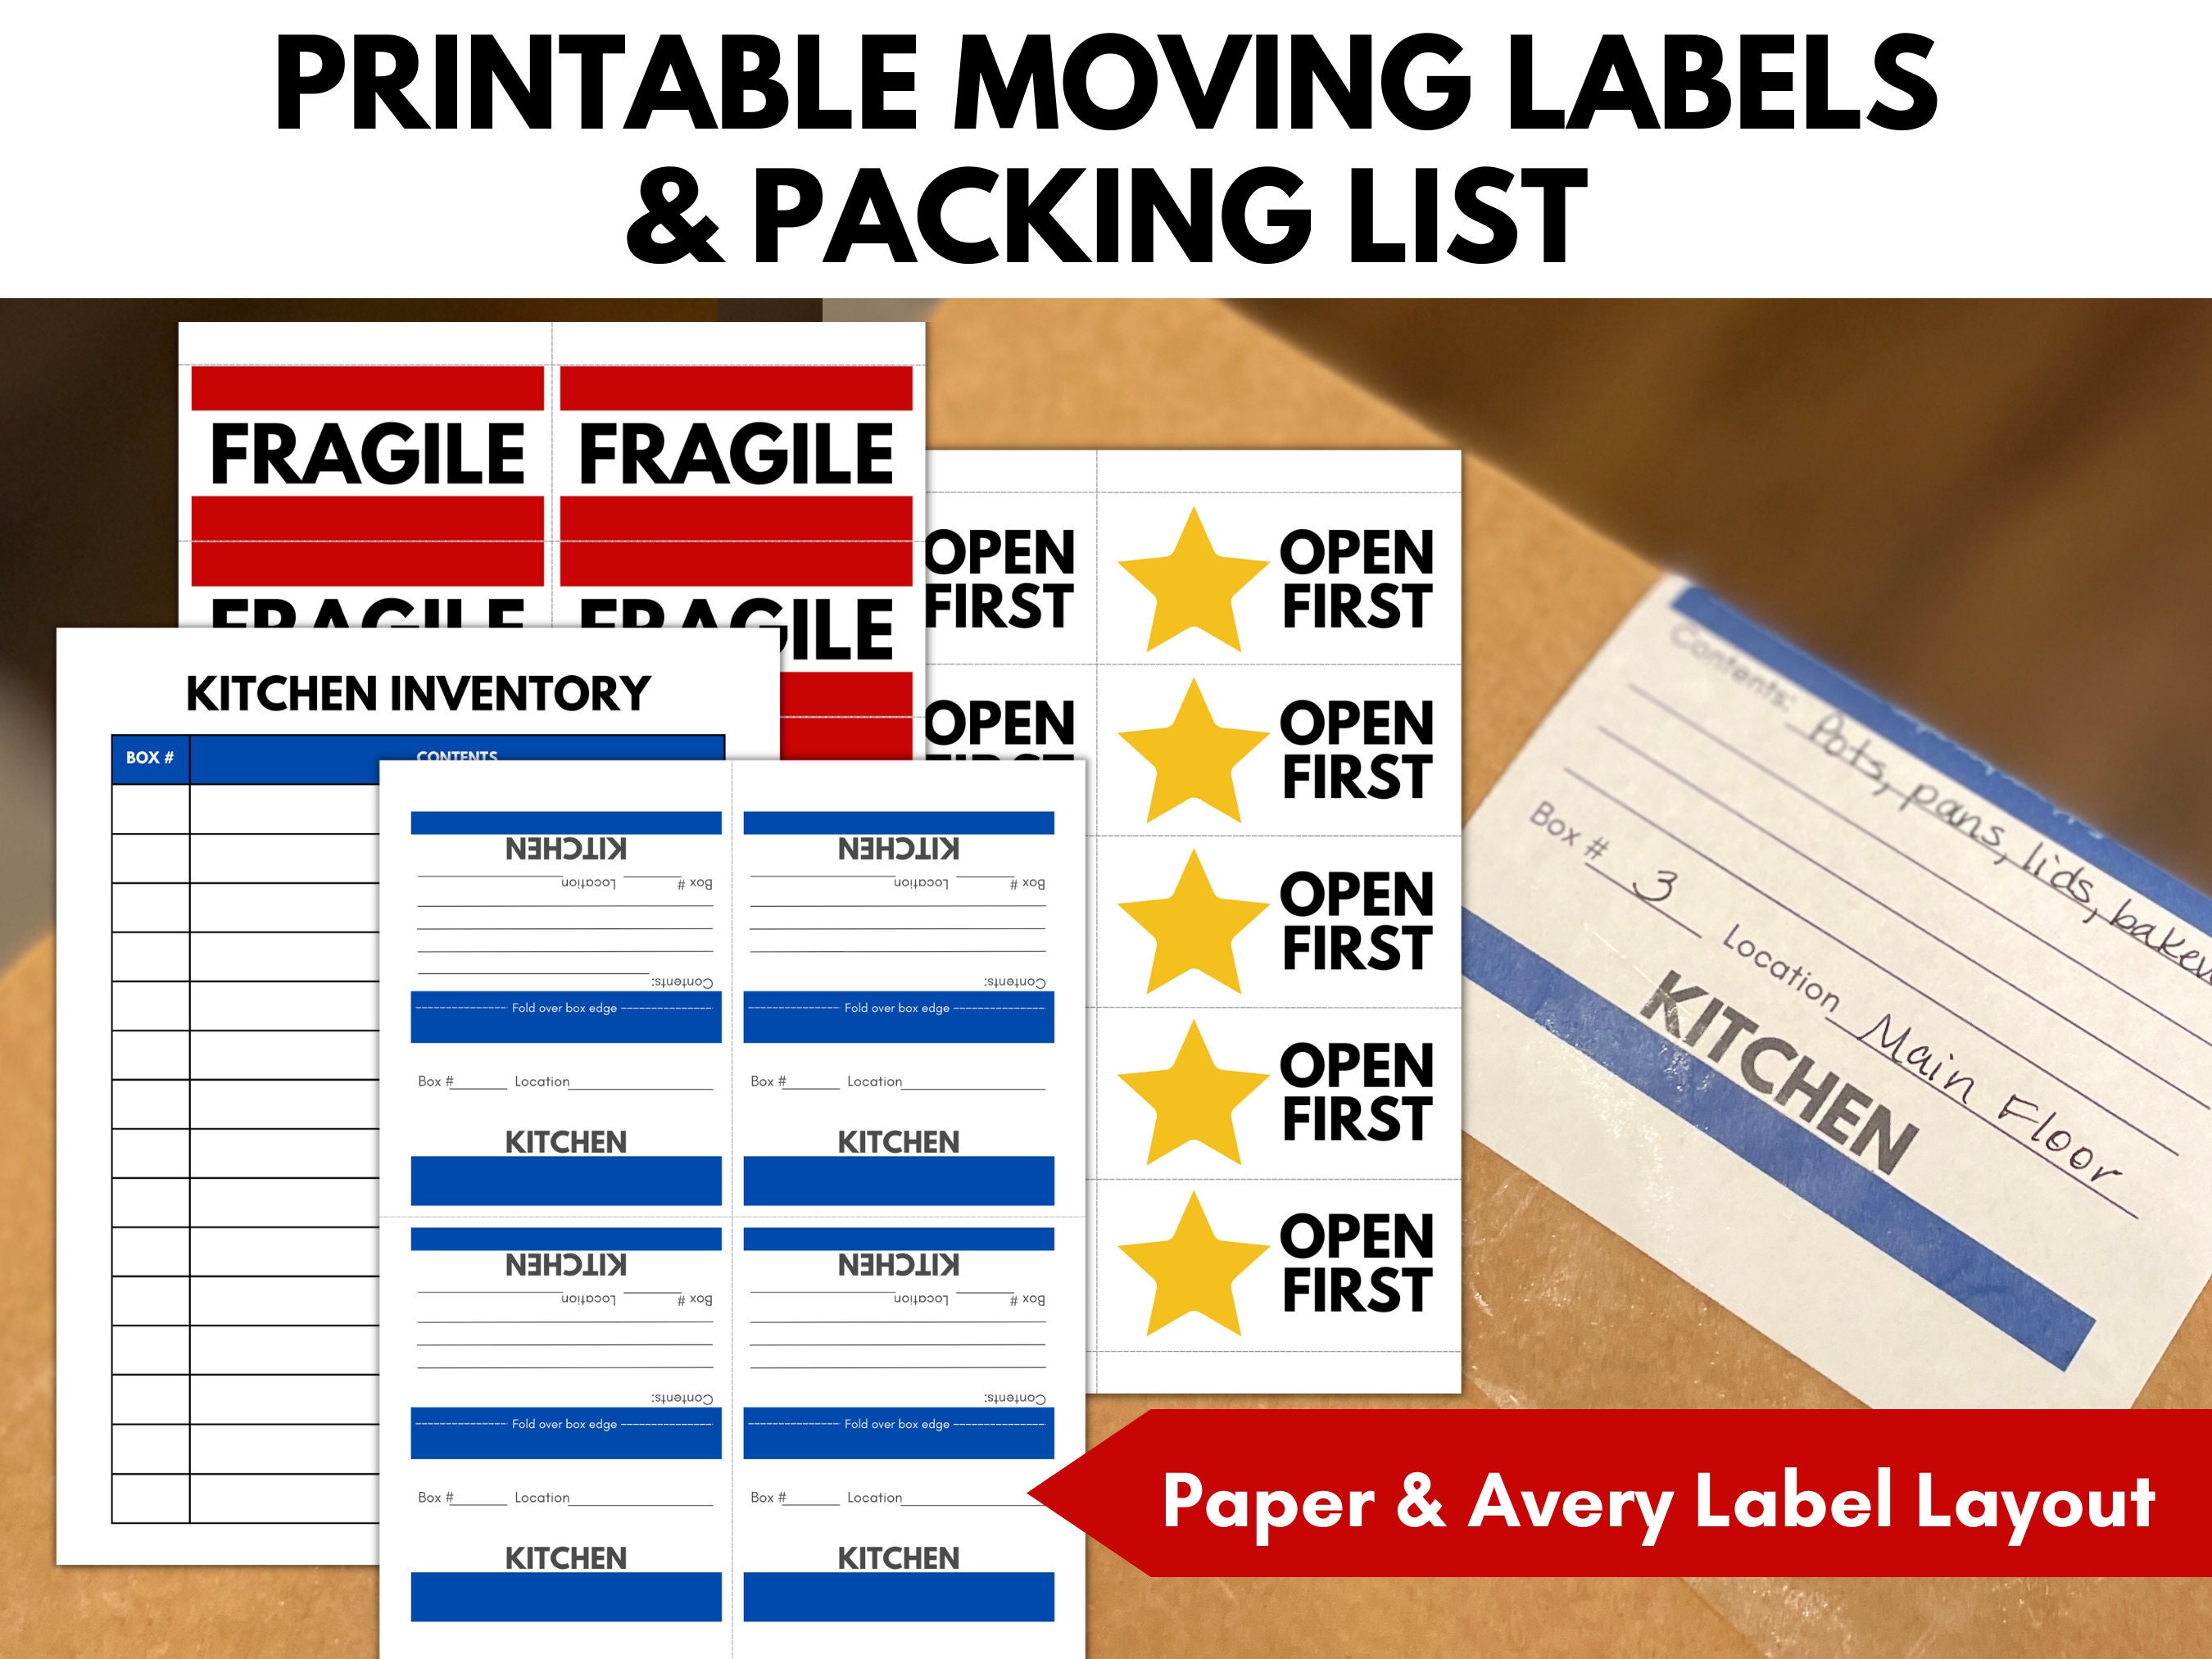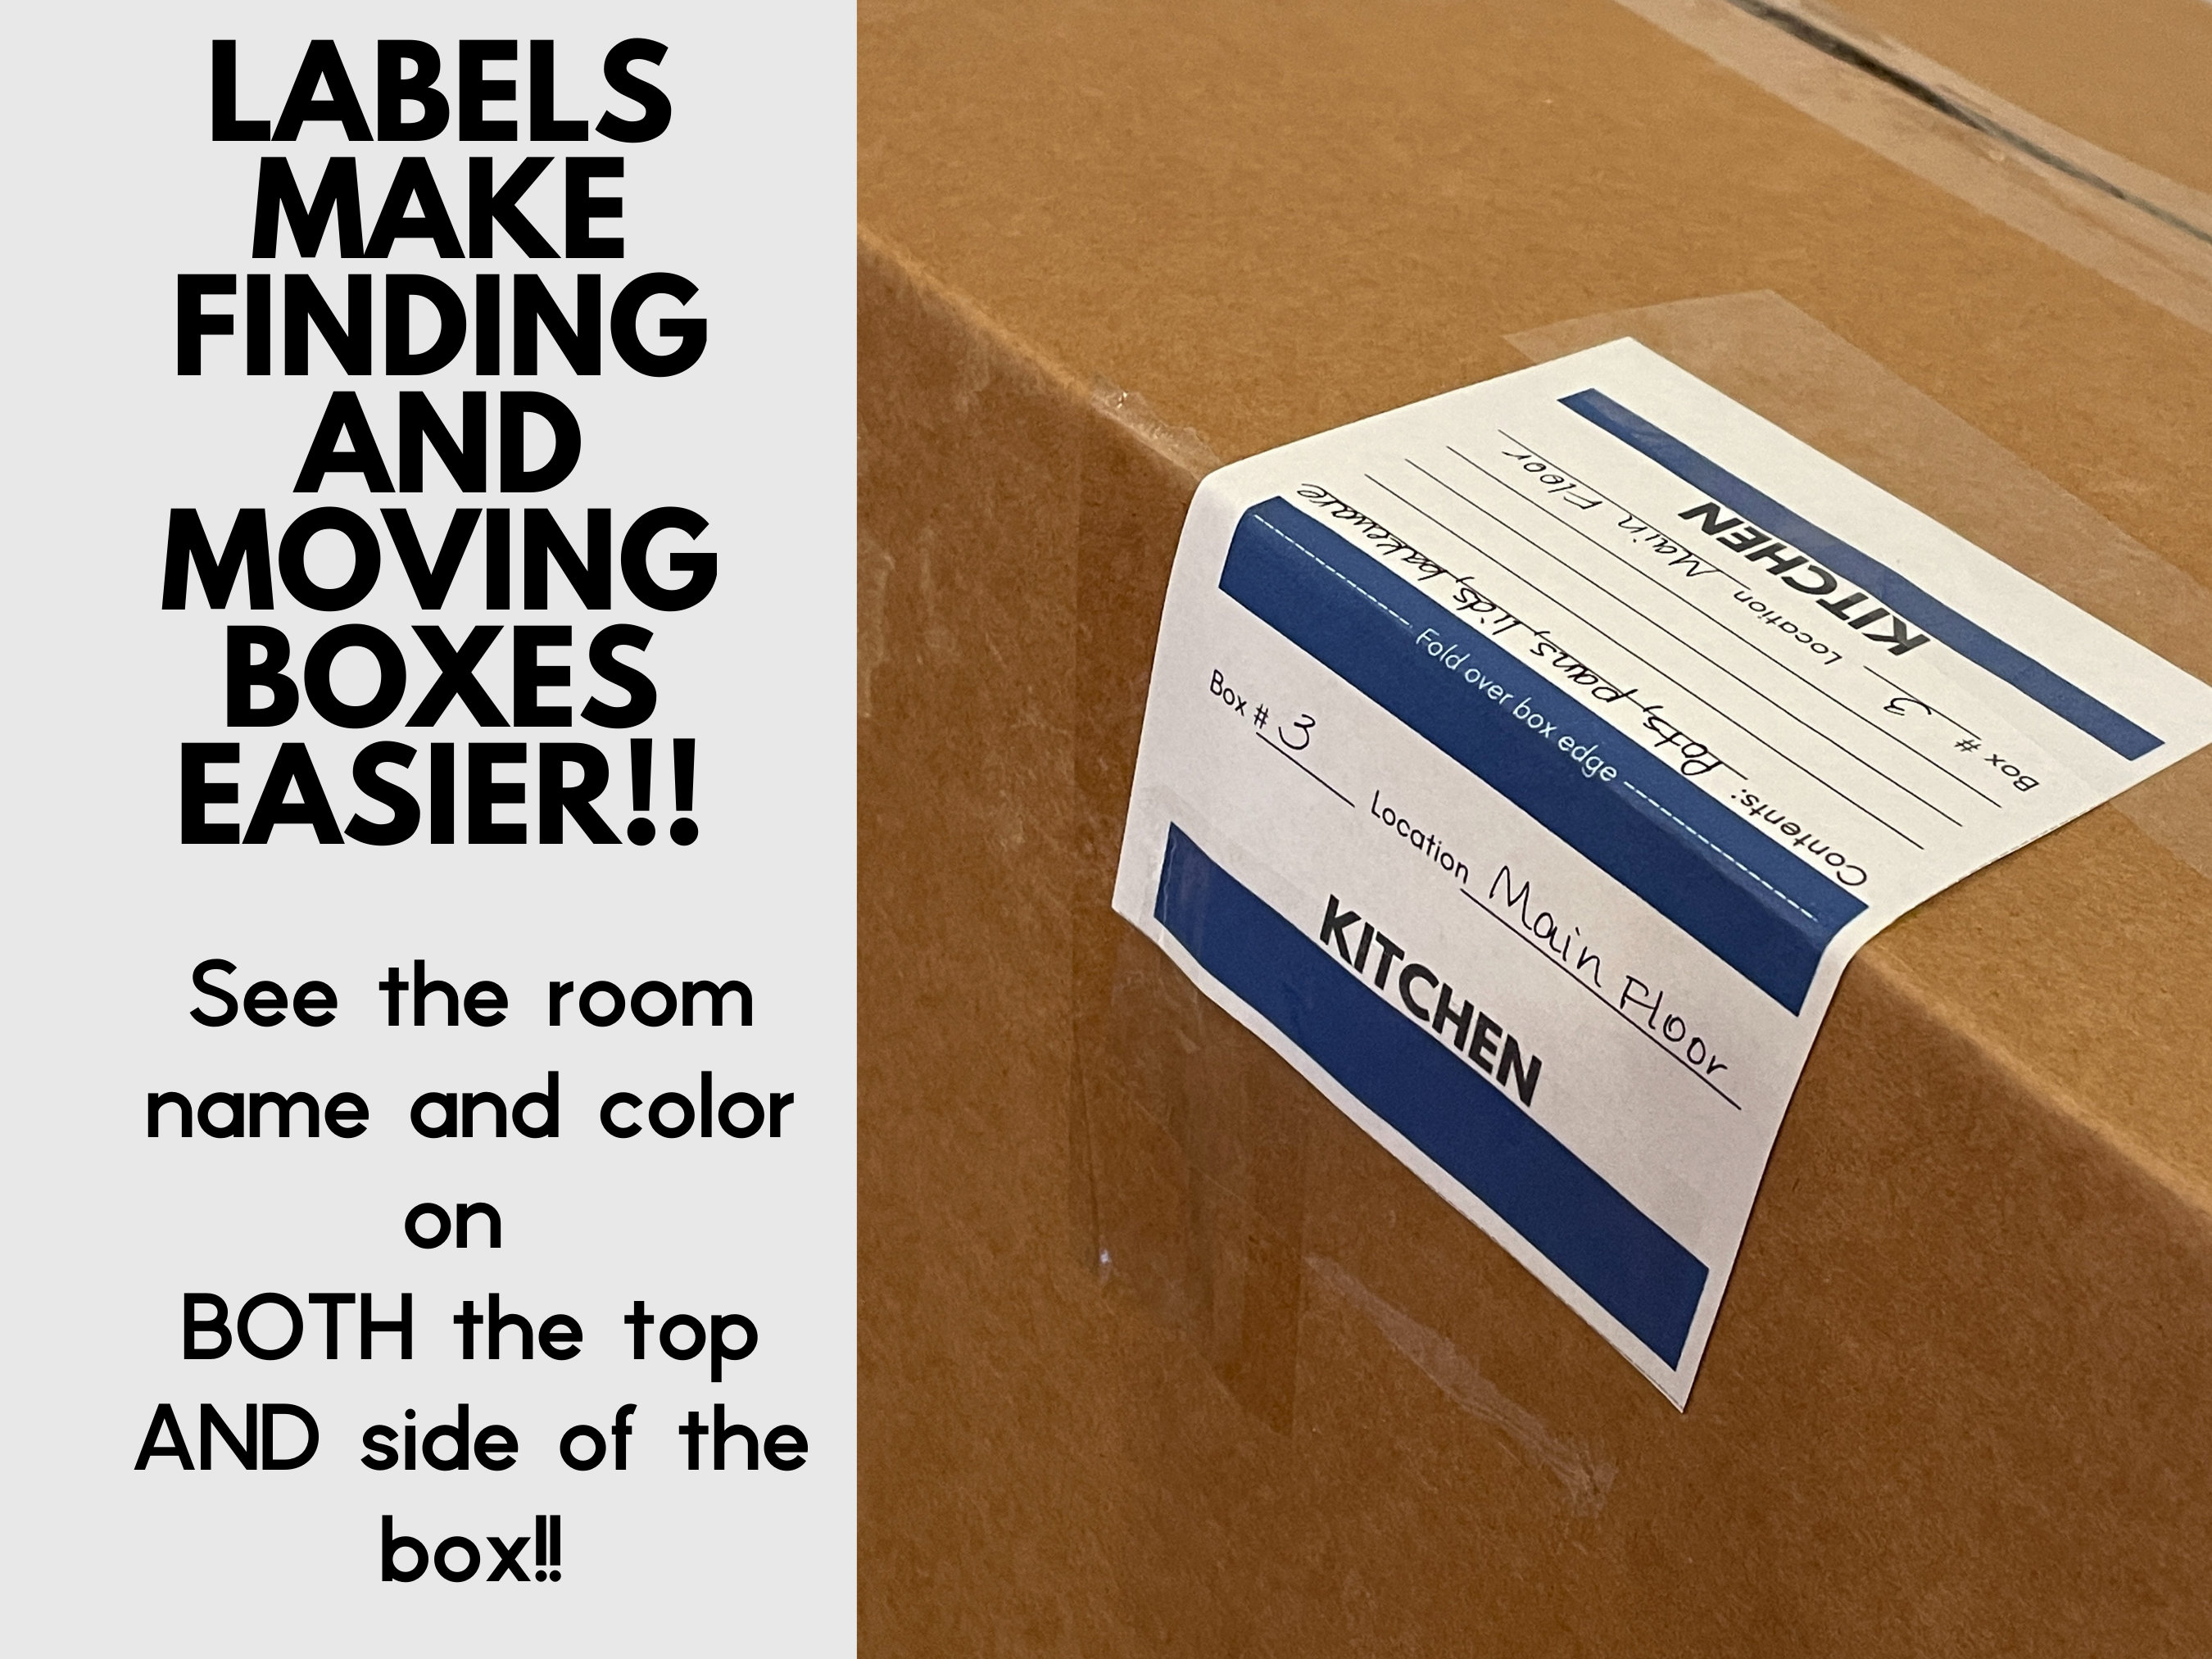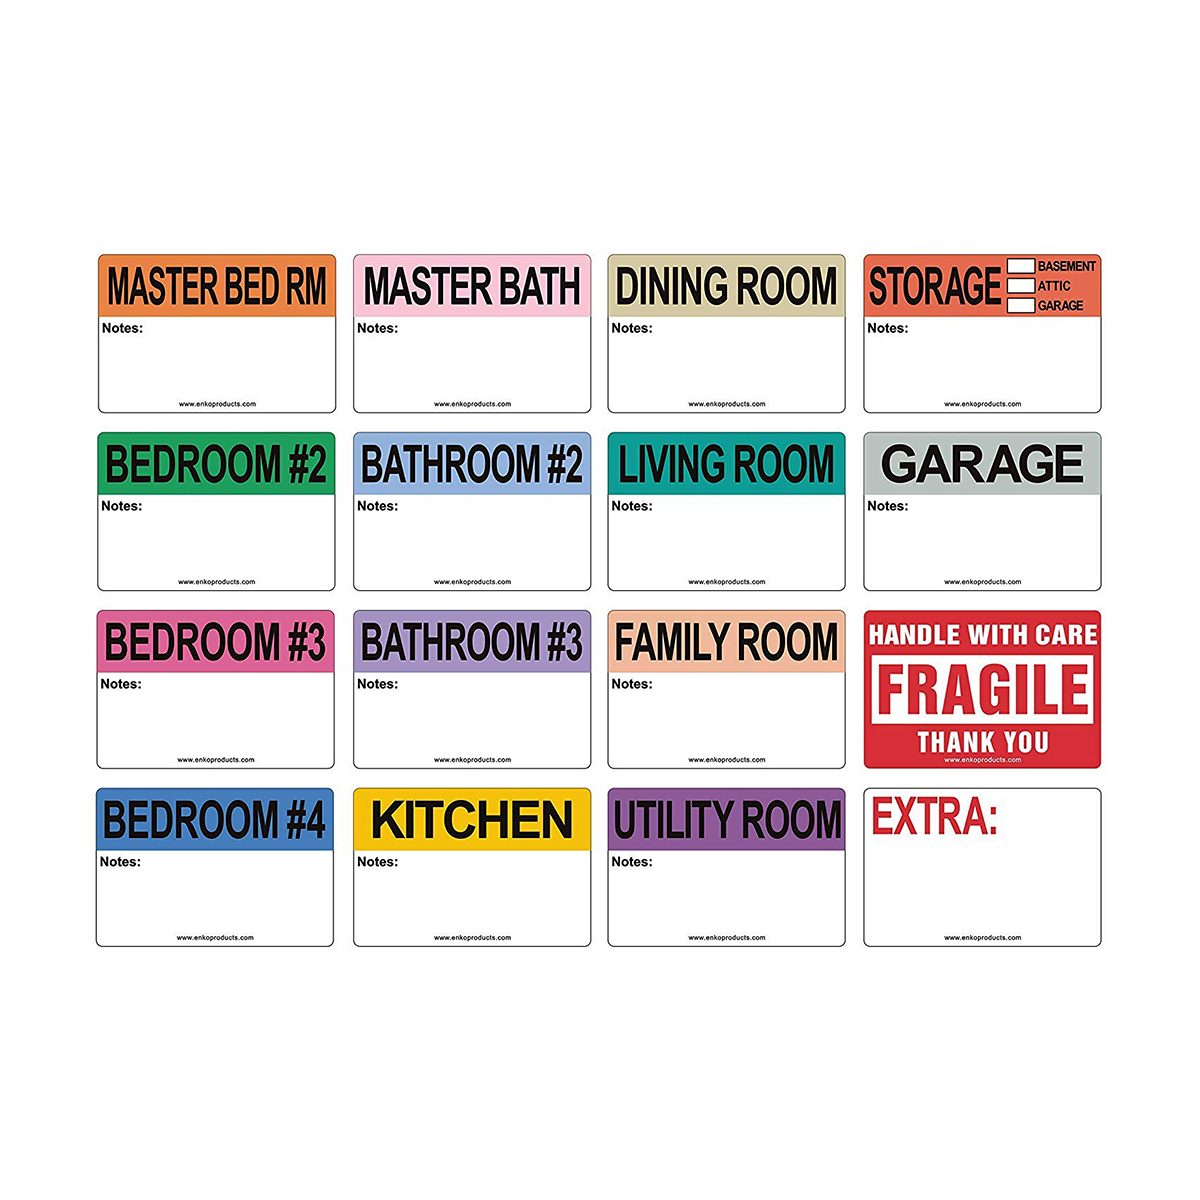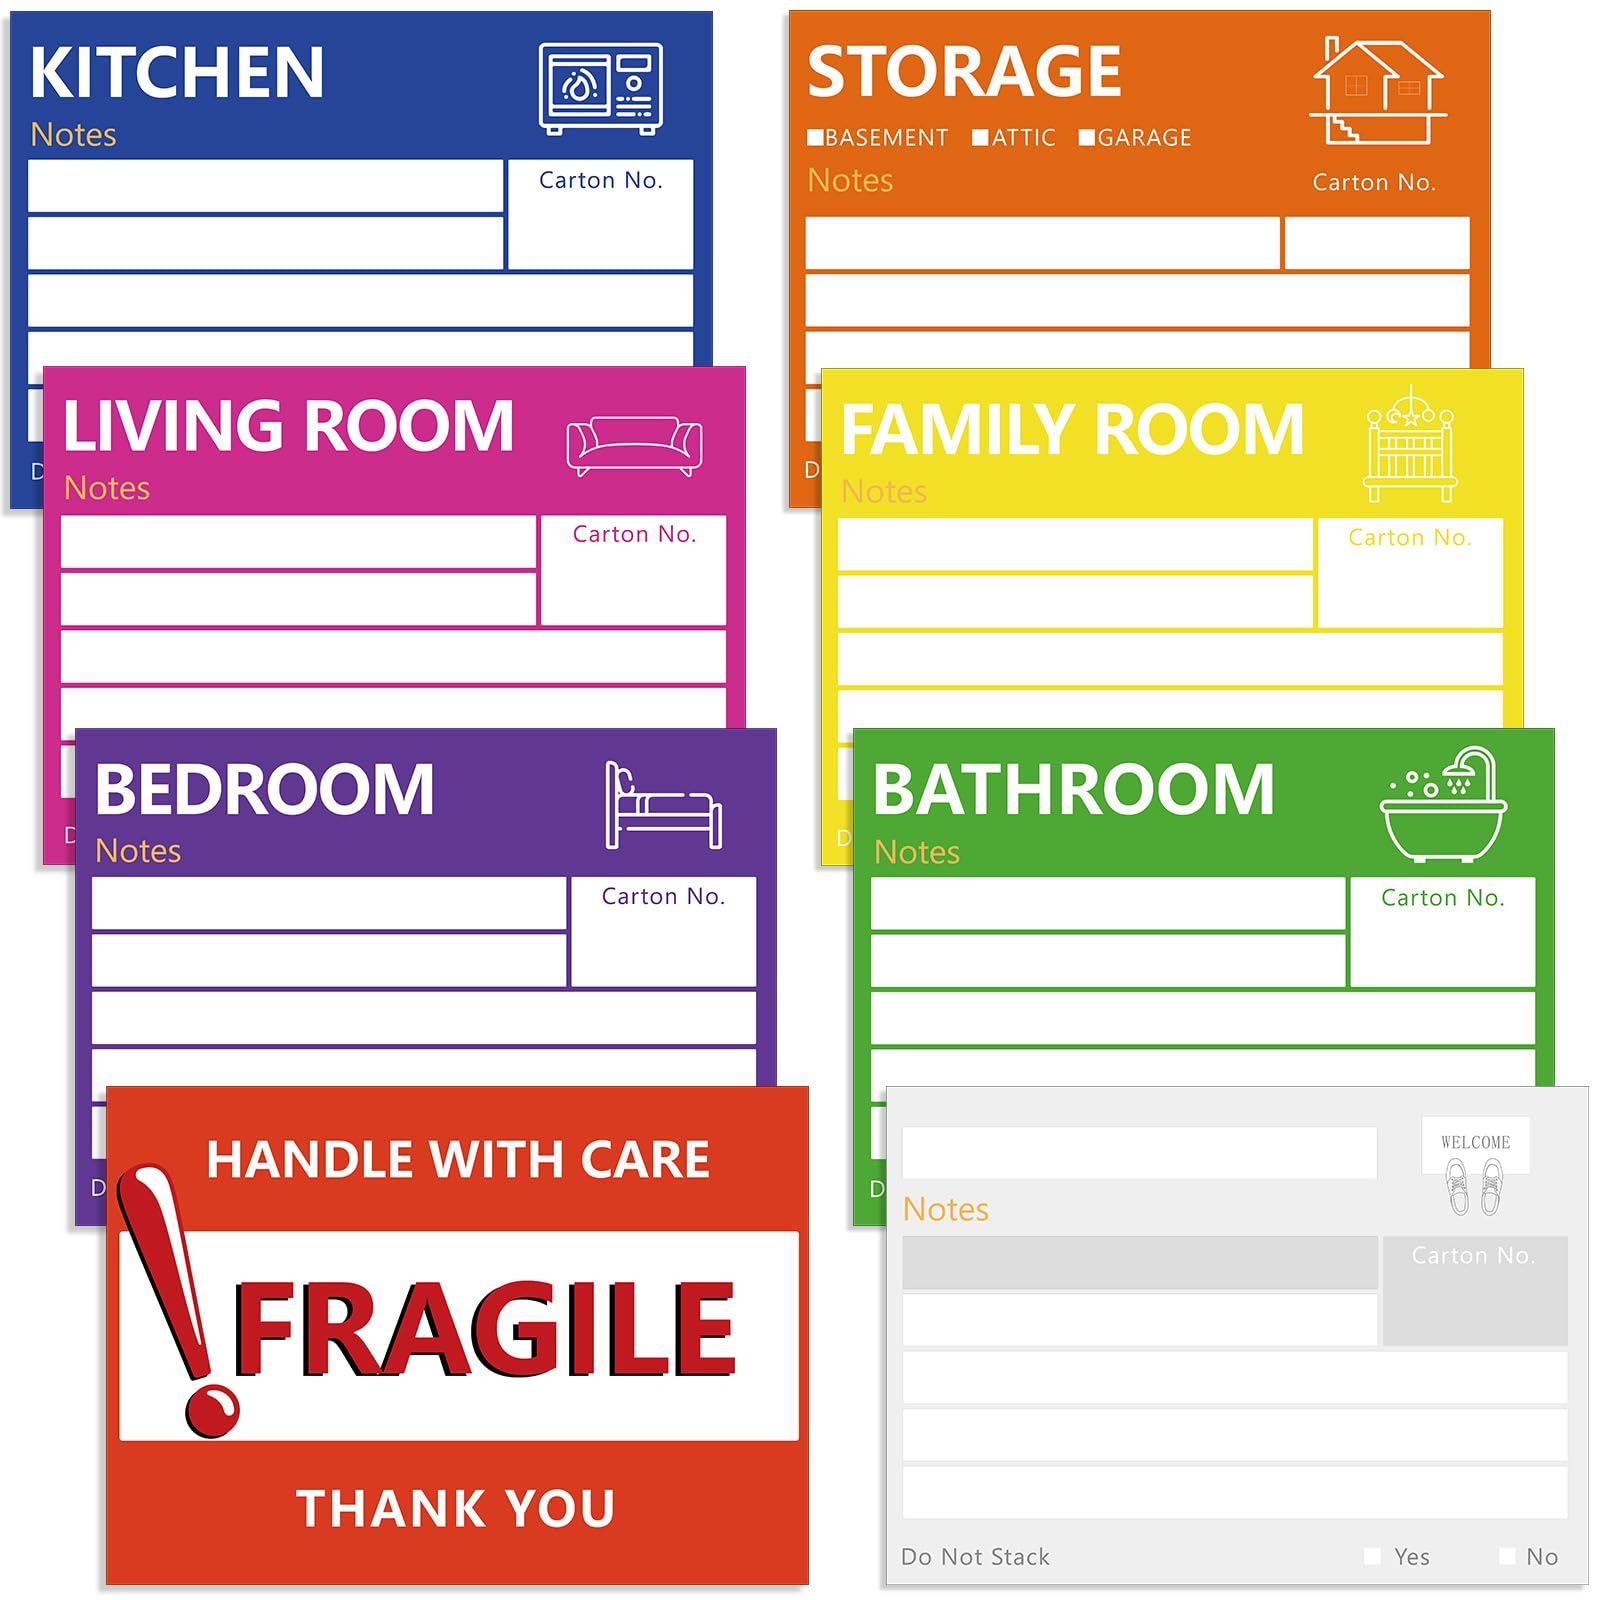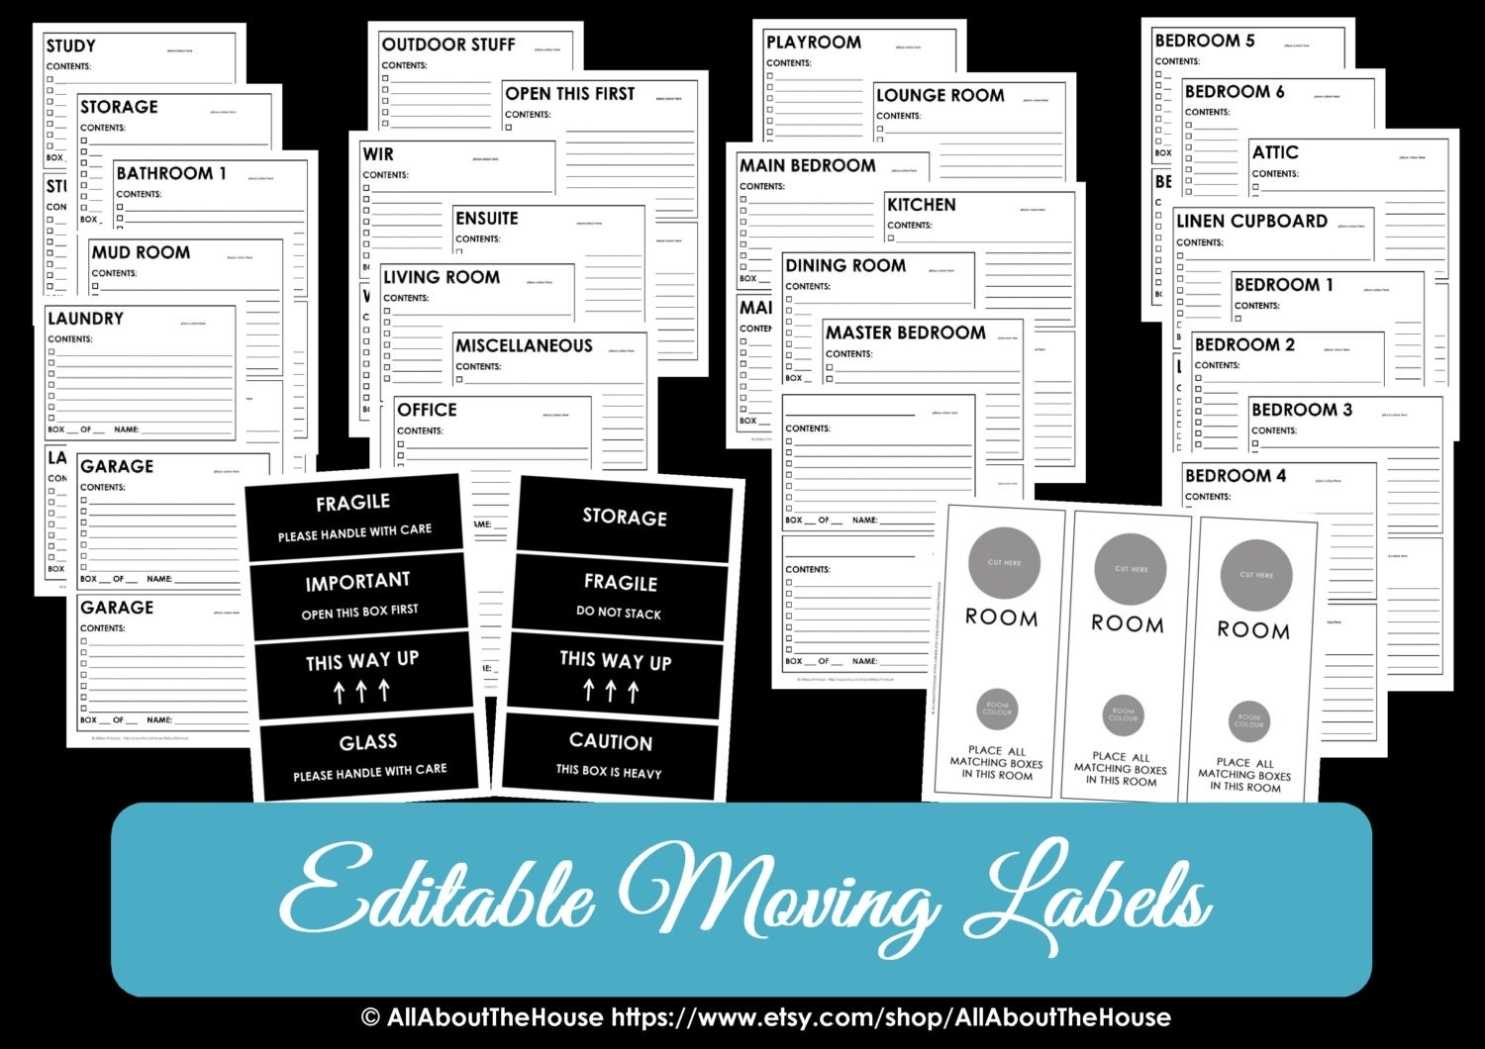
Moving Box Labels Template serves as the cornerstone of an organized, stress‑free relocation, whether you’re moving homes, offices, or a warehouse. By standardizing the information on every carton, you eliminate confusion, reduce mis‑delivery, and save time and money on the entire move. This guide explains why you should adopt a template, how to select or create the best one for your needs, and how to implement it efficiently from prep to unloading.
Why Every Move Needs a Label Template
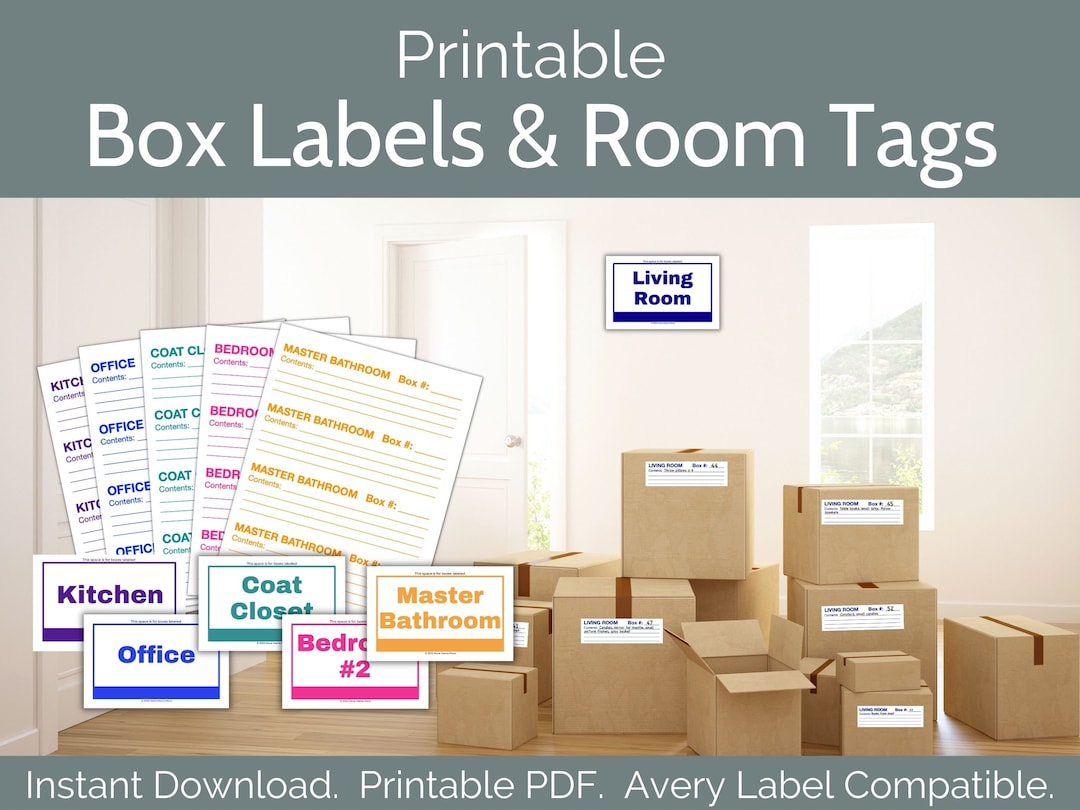
In any relocation, the first challenge is to keep track of hundreds, sometimes thousands, of boxes. A well‑designed Moving Box Labels Template brings several key advantages:
- Clarity for movers – Clear destinations and contents reduce handling errors.
- Time efficiency – Workers can identify boxes at a glance, speeding up loading and unloading.
- Safety – Fragile or hazardous items receive the right precautions.
- Documentation – Accurate labels serve as a record for insurance and compliance.
- Cost control – Proper labeling prevents damage claims, saving you money.
Without a template, each box label is an ad‑hoc decision, increasing the risk of misplacement, damage, or lost items. Standardization turns an otherwise chaotic process into a smooth, predictable workflow.
Types of Moving Box Label Templates

Choosing the right template depends on the nature of the move. Below are the most common categories and when to use each.
Residential Templates
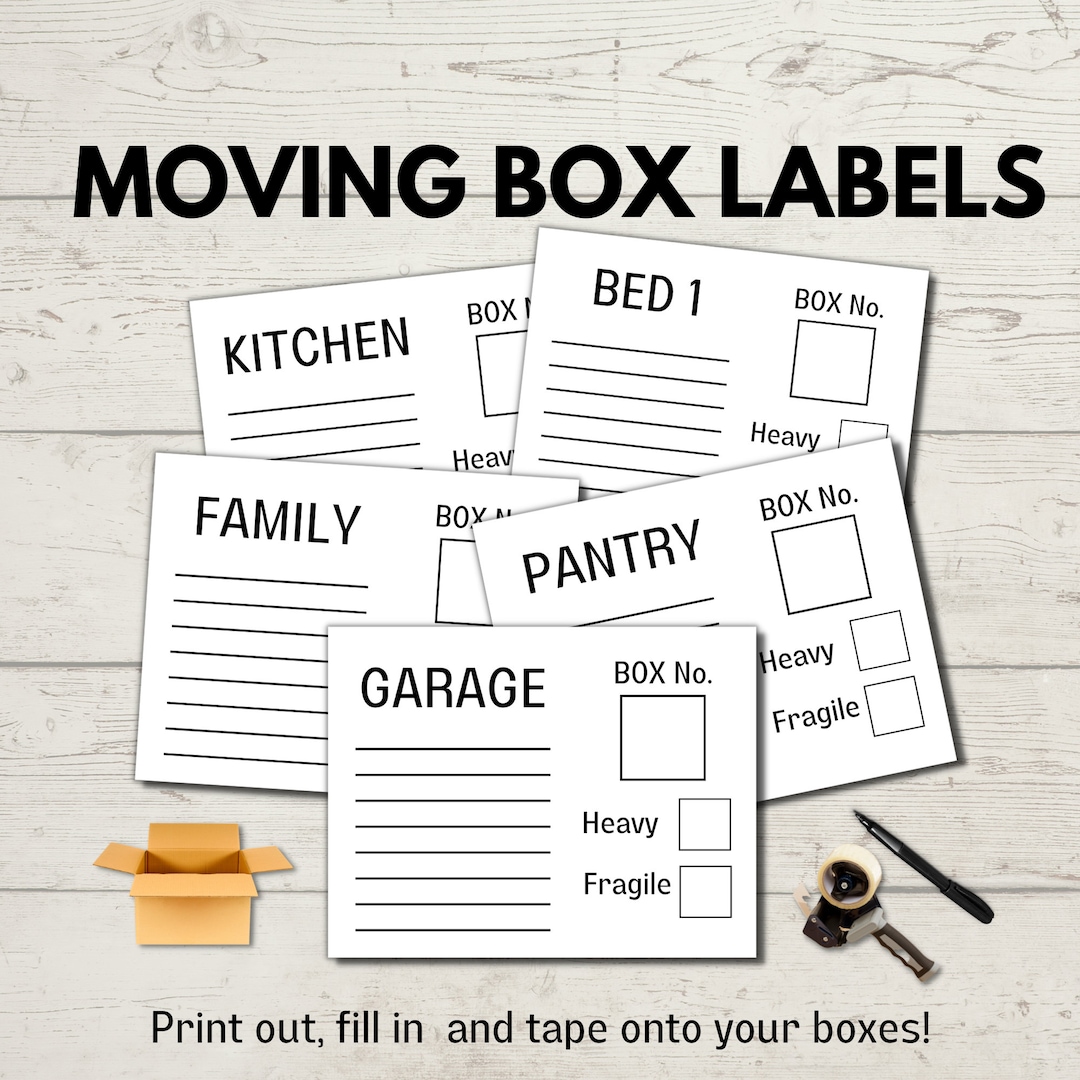
Residential moves often involve a wide variety of household goods. Templates for this context emphasize room designation and content notes. Typical fields include:
- Room (Kitchen, Living Room, Bedroom, etc.)
- Item Description (Books, Appliances, Electronics)
- Fragile Flag
- Handle with Care
- Destination Room in New Home
Commercial Templates
Office relocations require a more systematic approach, especially when dealing with equipment, documents, or inventory. Commercial templates often include:
- Department or Office (Accounting, Marketing)
- Equipment Type (Server, Printer, Furniture)
- Box Priority (Urgent, High Value)
- Security Level (Confidential, Sensitive)
- Unpacking Deadline
Warehouse & Industrial Templates
Large‑scale moves, such as those involving manufacturing equipment or bulk inventory, demand detailed labeling that addresses compliance and logistics:
- SKU or Item Code
- Batch Number
- Hazard Classification (Flammable, Corrosive)
- Load Weight
- Destination Warehouse Section
Hybrid Templates
Some moves combine residential and commercial elements—think a loft office with personal items. Hybrid templates merge key fields from both categories, allowing flexible labeling across all boxes.
Key Components of a High‑Quality Template
A professional label should be easy to read, durable, and contain all necessary information. Focus on these core components:
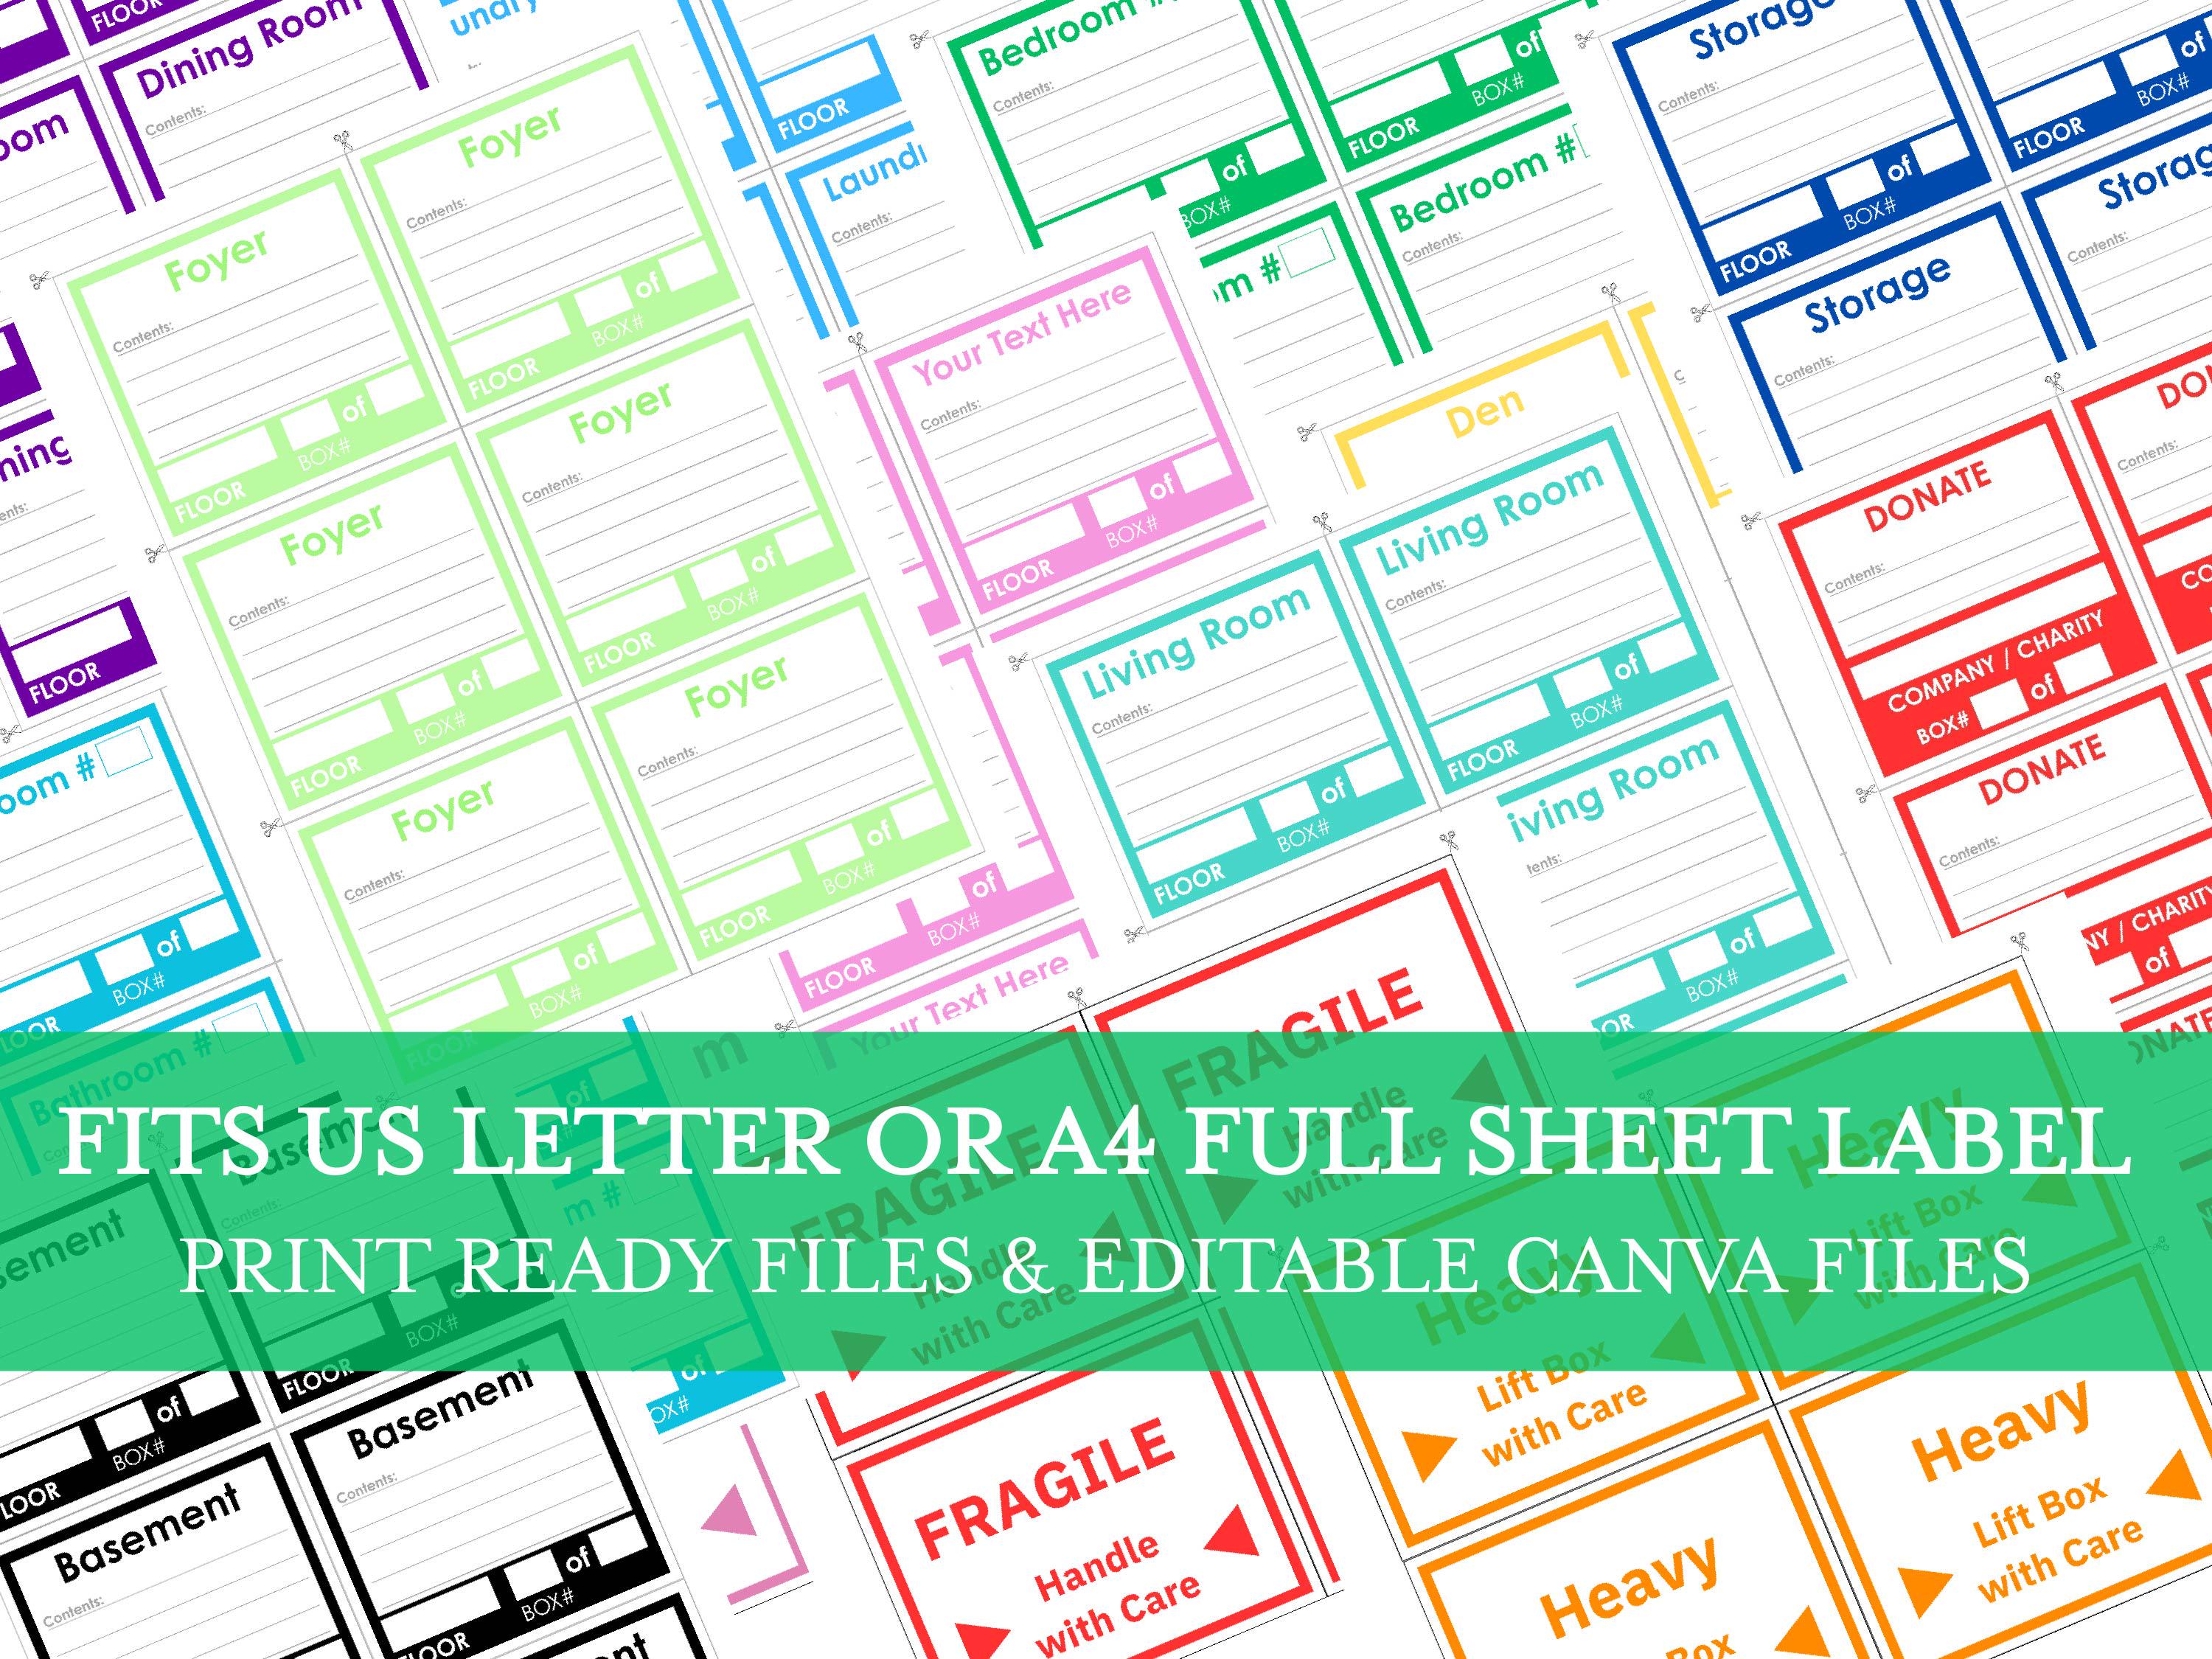
Consistent Font and Size
Choose a sans‑serif font such as Arial or Helvetica for legibility. Use a font size between 10‑12 pt for print labels; larger sizes improve readability from a distance.
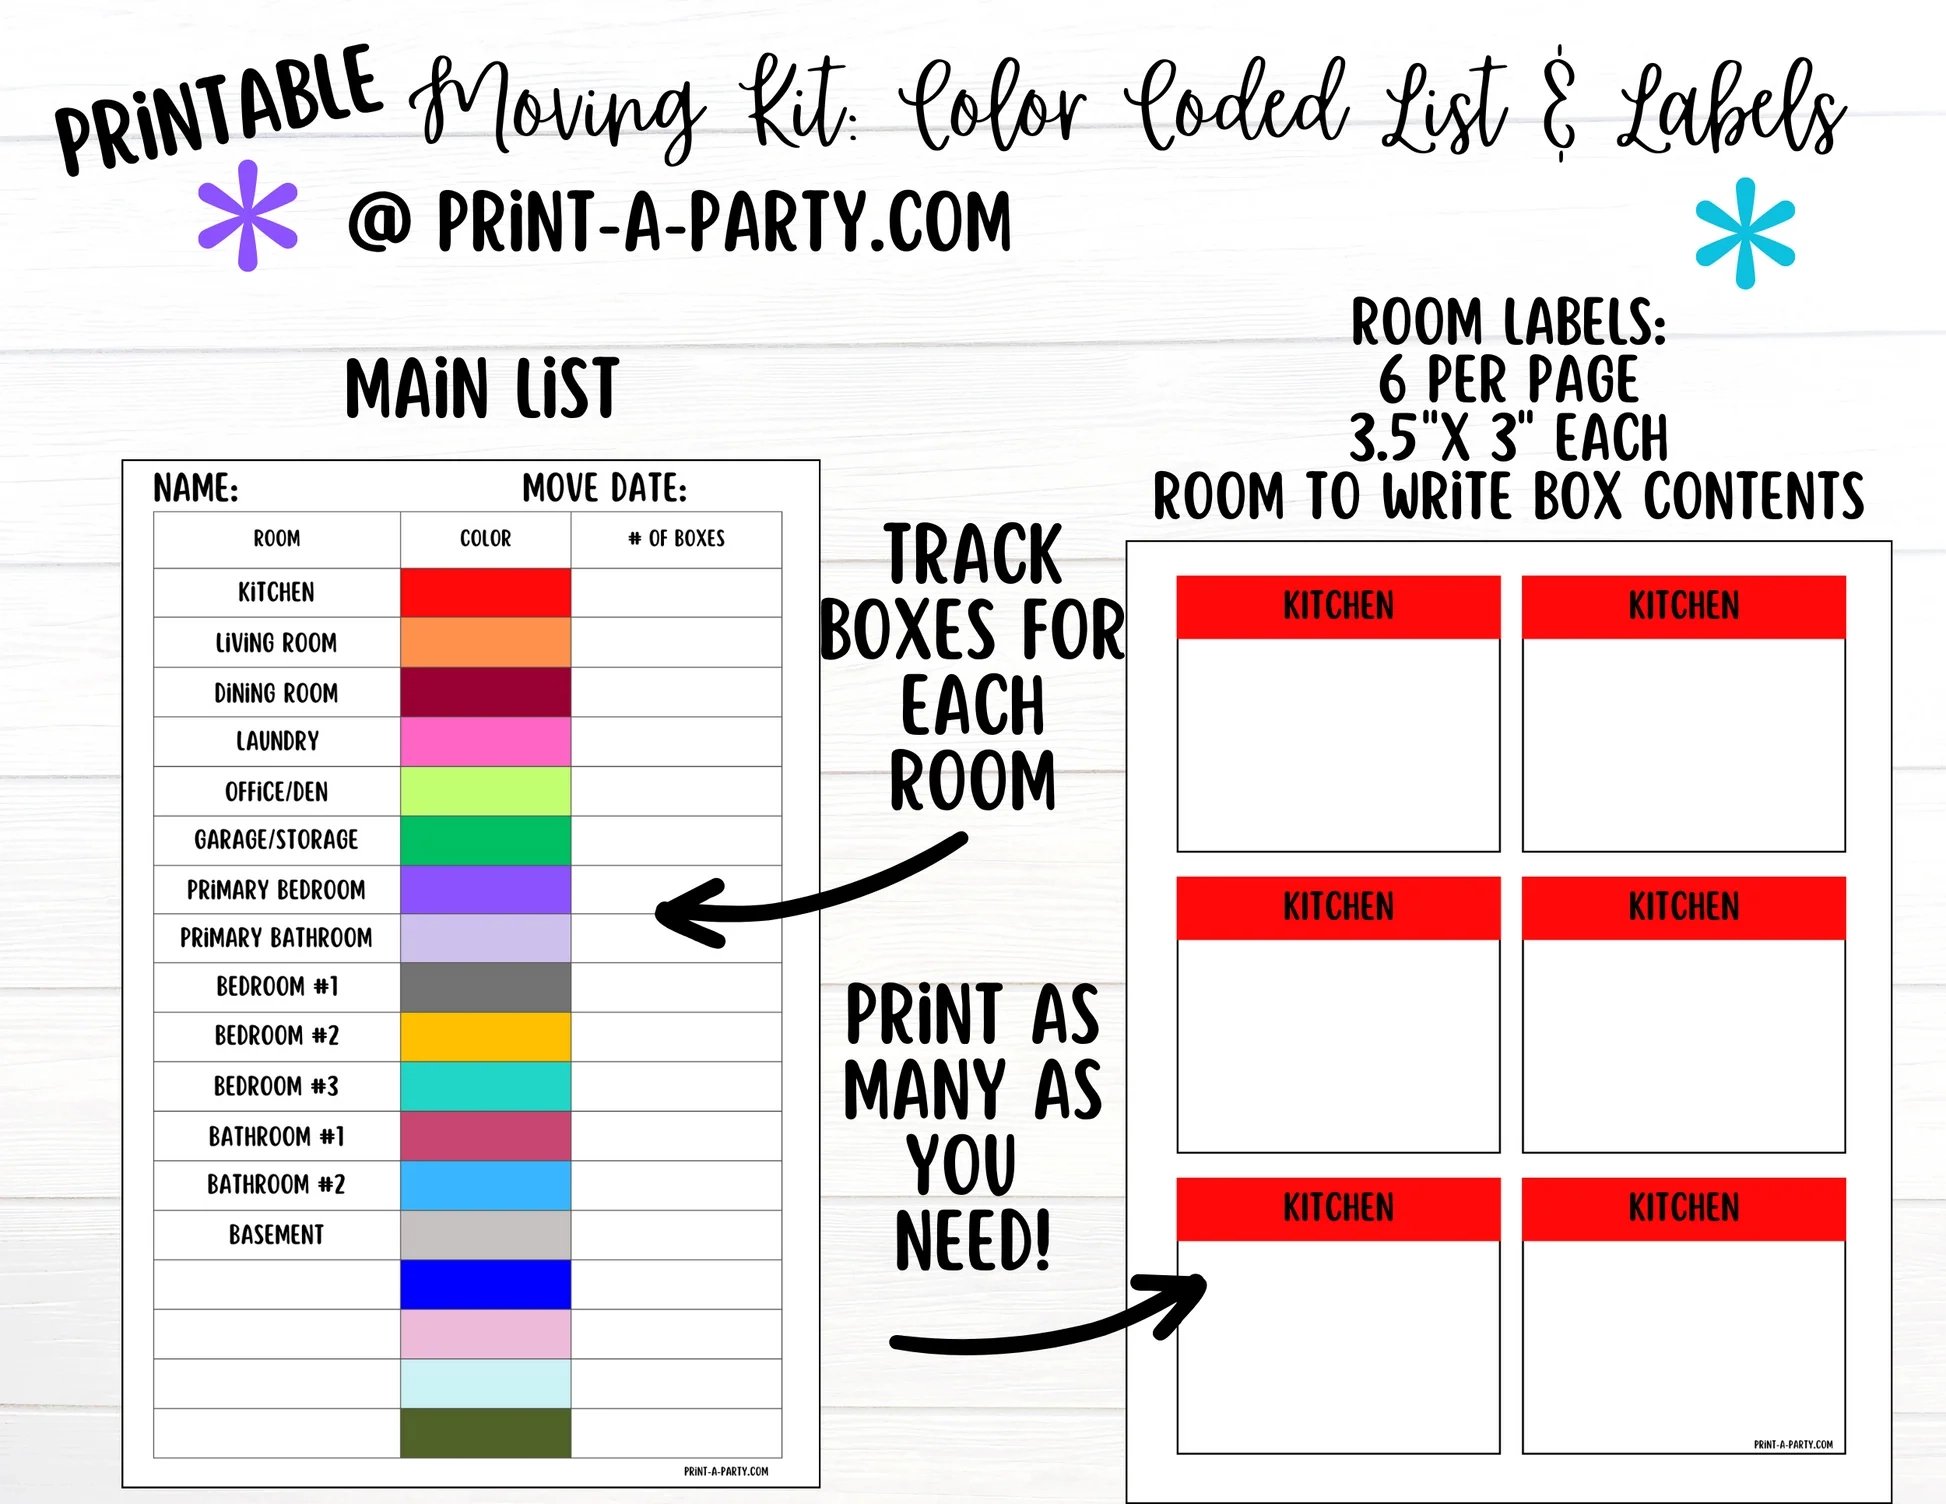
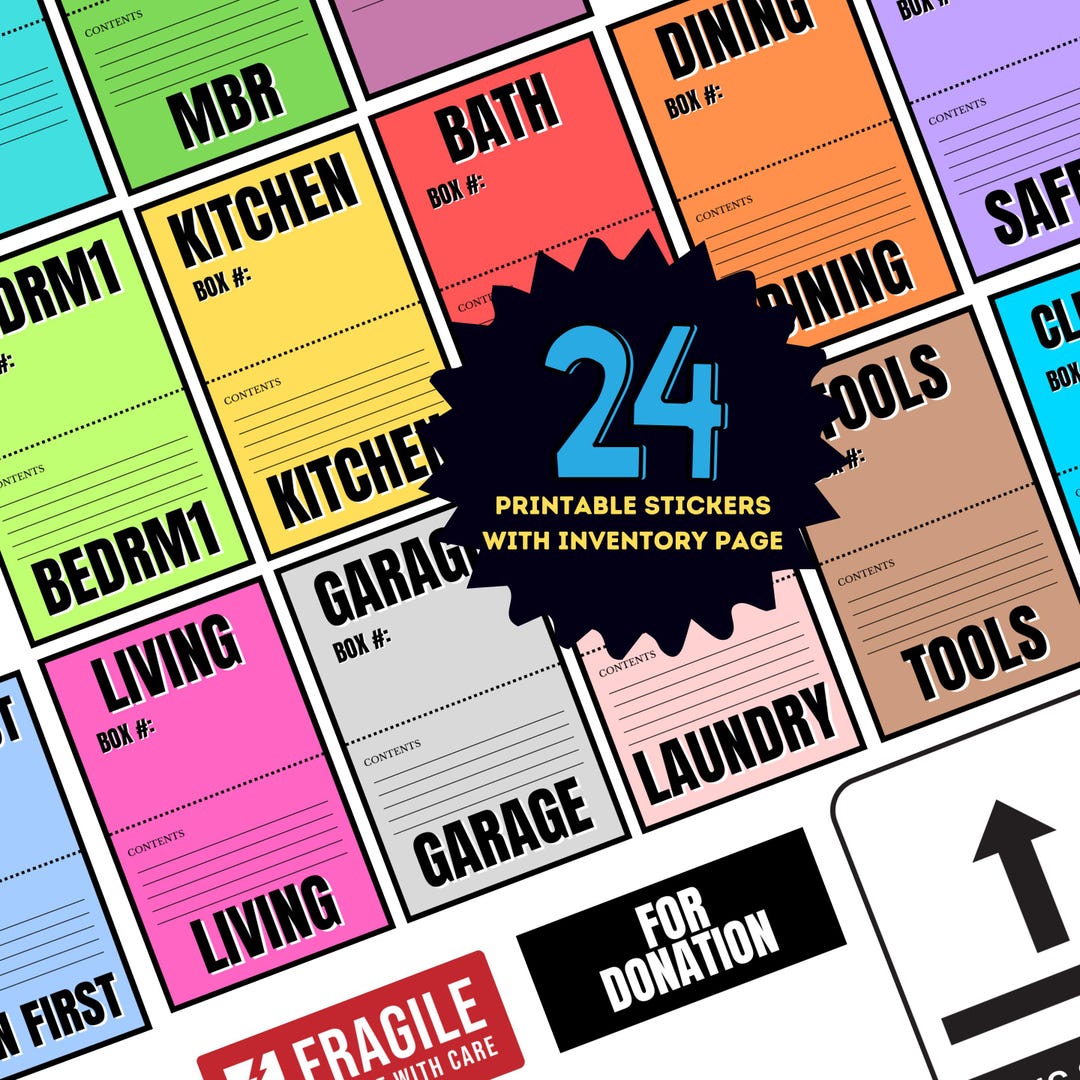
Color Coding
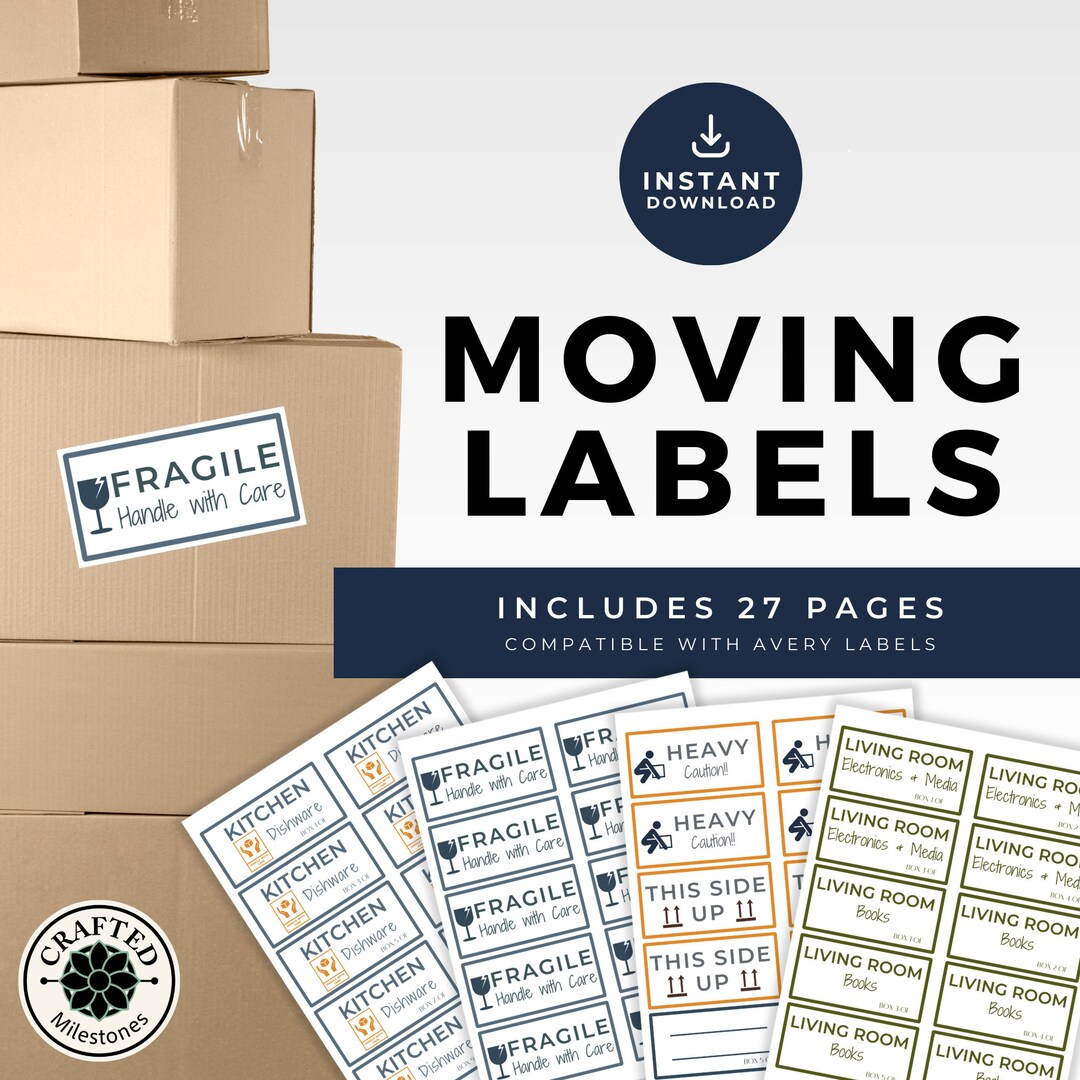
Assign a color to each category to provide instant visual cues. For example:
- Blue for Fragile Items
- Red for High‑Value Goods
- Green for Electronics
- Yellow for Heavy Items
Clear Hierarchy
Place the most critical information (e.g., destination room) at the top, followed by secondary details. This hierarchy ensures movers see the essential data first.
QR Codes or Barcodes
For digital tracking, incorporate a QR code or barcode that links to an online inventory list. This feature is invaluable for large moves where manual checks become impractical.
Material and Adhesive Quality
Labels should be made of waterproof, tear‑resistant paper or adhesive strips. Avoid generic printer paper that tears easily when boxes are stacked or moved.
Choosing the Right Tool for Design and Printing

The efficiency of your labeling process starts with the right design software and printer setup.
Design Software Options
Consider these tools for creating or customizing templates:
- Adobe InDesign – Professional layout control, ideal for complex designs.
- Microsoft Word – Accessible and easy to use for simple templates.
- Canva – Web‑based with pre‑built templates and drag‑and‑drop editing.
- Google Docs – Free option with collaboration features.
Whichever tool you choose, keep the file in a print‑ready format (PDF or high‑resolution PNG) and use CMYK color mode to ensure accurate color output.
Printer Considerations
For small volumes, a high‑quality inkjet printer suffices. For bulk printing, consider:
- Laser printers – Fast, cost‑effective for large runs.
- Label‑specific printers – Provide built‑in adhesive and cutting options.
- Professional print services – Ideal for ultra‑durable labels or customized shapes.
Step‑by‑Step Guide to Implementing a Label Template
Follow this structured workflow to ensure consistency from packing to unloading.
1. Prepare Your Inventory List
Compile a master spreadsheet that includes:
- Box ID
- Contents
- Weight
- Destination
- Special Handling Notes
Use this list as the source of truth for labeling.
2. Assign Labels to Boxes
Match each inventory record to its physical box. Assign a unique ID that matches the label. If using QR codes, generate codes that link to the corresponding inventory entry.
3. Print or Produce Labels
Batch‑print all labels to avoid delays. If you’re using adhesive strips, apply them to the box top in a standardized position (e.g., upper right corner) to keep placement uniform.
4. Apply Labels Correctly
Follow these best practices:
- Clean the box surface with a dry cloth.
- Place the label flat and centered.
- Press gently to ensure full adhesion.
- Check for bubbles or misalignment.
5. Verify Accuracy
Have a second person cross‑check the label against the inventory list. This double‑check prevents mistakes that could cost time and money later.
6. Train Movers
Provide a quick briefing on how to read the labels, focusing on color codes and priority markers. This training reduces confusion during the heavy lifting phase.
7. Use Labels During Unpacking
At the destination, instruct staff to sort boxes by their labeled priority (e.g., fragile first, heavy next). This systematic approach speeds up the re‑assembly process.
Real‑World Case Studies
Here are two scenarios that illustrate the practical impact of a robust labeling template.
Case Study 1: Tech Startup Office Relocation
A startup moved from a cramped office to a new 5,000‑sq‑ft location. They used a commercial template that included:
- Equipment Type
- Department
- Unpacking Deadline
The result? A 25% reduction in time spent locating servers and a 30% decrease in damaged cables due to clear fragile markers.
Case Study 2: Family Moving into a New Home
A family with three bedrooms and a large collection of antiques adopted a residential template. The color‑coded labels helped movers identify the antique cabinet boxes, ensuring they were handled with extra care. The move concluded with zero damage claims.
Common Pitfalls and How to Avoid Them

Even with a template, mistakes can happen. Address these common issues proactively.
1. Inconsistent Label Placement
Solution: Standardize the placement across all boxes and enforce it during training.
2. Overcrowding Information
Solution: Use concise wording and avoid excessive detail that can clutter the label.
3. Using Low‑Quality Materials
Solution: Invest in waterproof, tear‑resistant labels that withstand the rigors of transportation.
4. Forgetting QR Code Integration
Solution: Verify that every QR code is scannable and links correctly to the inventory record.
Leveraging Technology: Digital Label Management
Many moving companies now use software platforms that integrate with label templates, providing real‑time updates and inventory tracking. Benefits include:
- Instant access to packing lists via mobile devices.
- Automatic updates to label status (e.g., “Delivered”, “Under Inspection”).
- Data analytics to identify frequent damage points.
Implementing a digital label management system can be a worthwhile investment, especially for recurring moves or large enterprises.
Cost‑Saving Tips
Smart labeling translates to financial benefits. Here’s how to maximize savings:
1. Bulk Label Production
Print large batches to reduce per‑unit printing cost and avoid last‑minute rush orders.
2. Reusable Label Sheets
Use removable adhesive strips that can be repositioned without tearing, ideal for temporary moves.
3. Outsource to Professional Printers
When dealing with high‑volume moves, professional printing services often offer discounted rates for bulk orders.
4. Standardize Across Moves
Create a library of reusable templates for different move types. This avoids re‑designing each time and keeps your branding consistent.
Compliance and Safety Considerations
Depending on the region and industry, you may need to adhere to specific labeling regulations:
- Hazardous Materials (Class 3, 4, or 5 chemicals) require specific hazard icons.
- International moves must comply with UN packaging and labeling guidelines.
- Data center relocations may need encryption badges for sensitive servers.
Consult local regulations or industry standards before finalizing your template to ensure full compliance.
Conclusion

A well‑crafted Moving Box Labels Template is more than a design choice—it’s a strategic tool that streamlines logistics, protects assets, and delivers measurable cost savings. By selecting the right template type, incorporating clear visual cues, and following a disciplined implementation process, you equip your team with the clarity they need to move efficiently and safely. Whether you’re a homeowner, an office manager, or a logistics professional, investing time in a professional labeling system pays dividends in reduced errors, faster unpacking, and ultimately a smoother relocation experience.