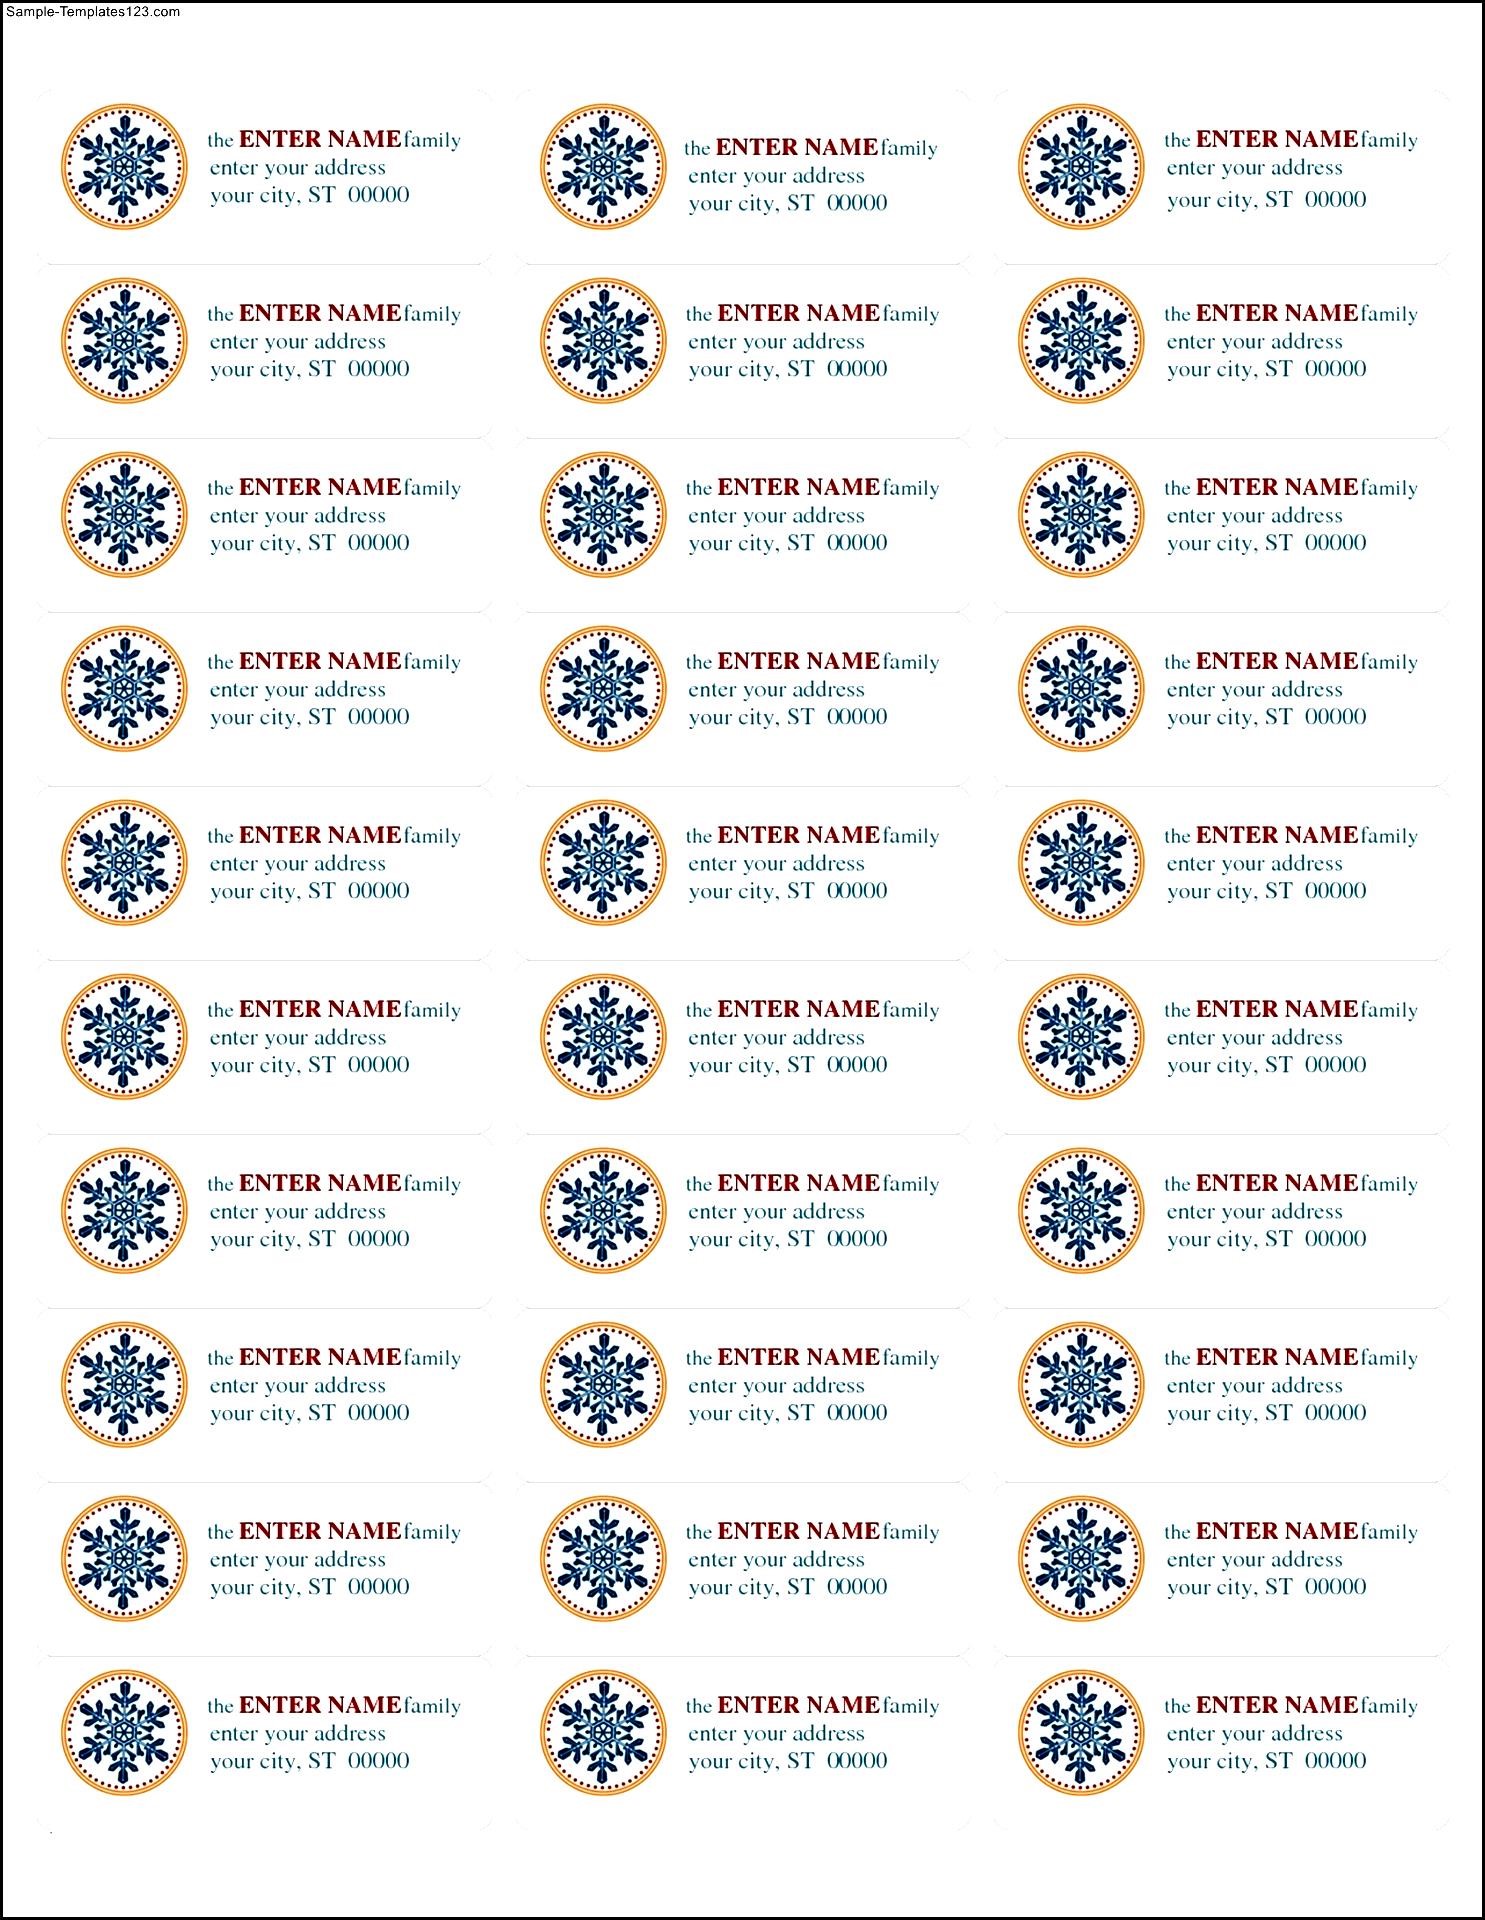
Template For Address Labels In Word offers a fast, reliable way to turn a simple spreadsheet of names and addresses into polished, ready‑to‑mail labels without ever leaving the familiar Microsoft Word environment, and this opening truth sets the stage for everything you’ll learn about mastering label design, data integration, and flawless printing.
Why Use a Template for Address Labels?
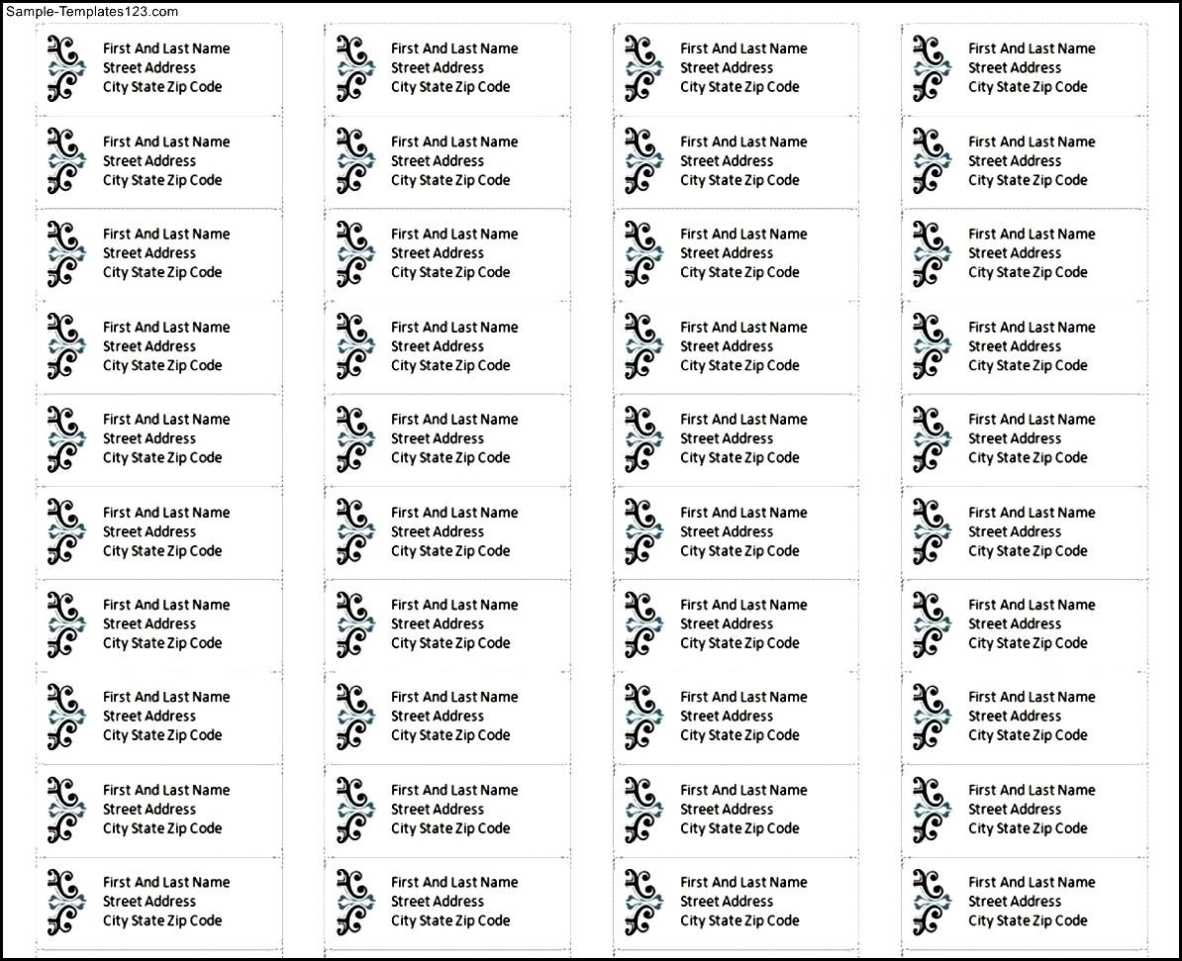
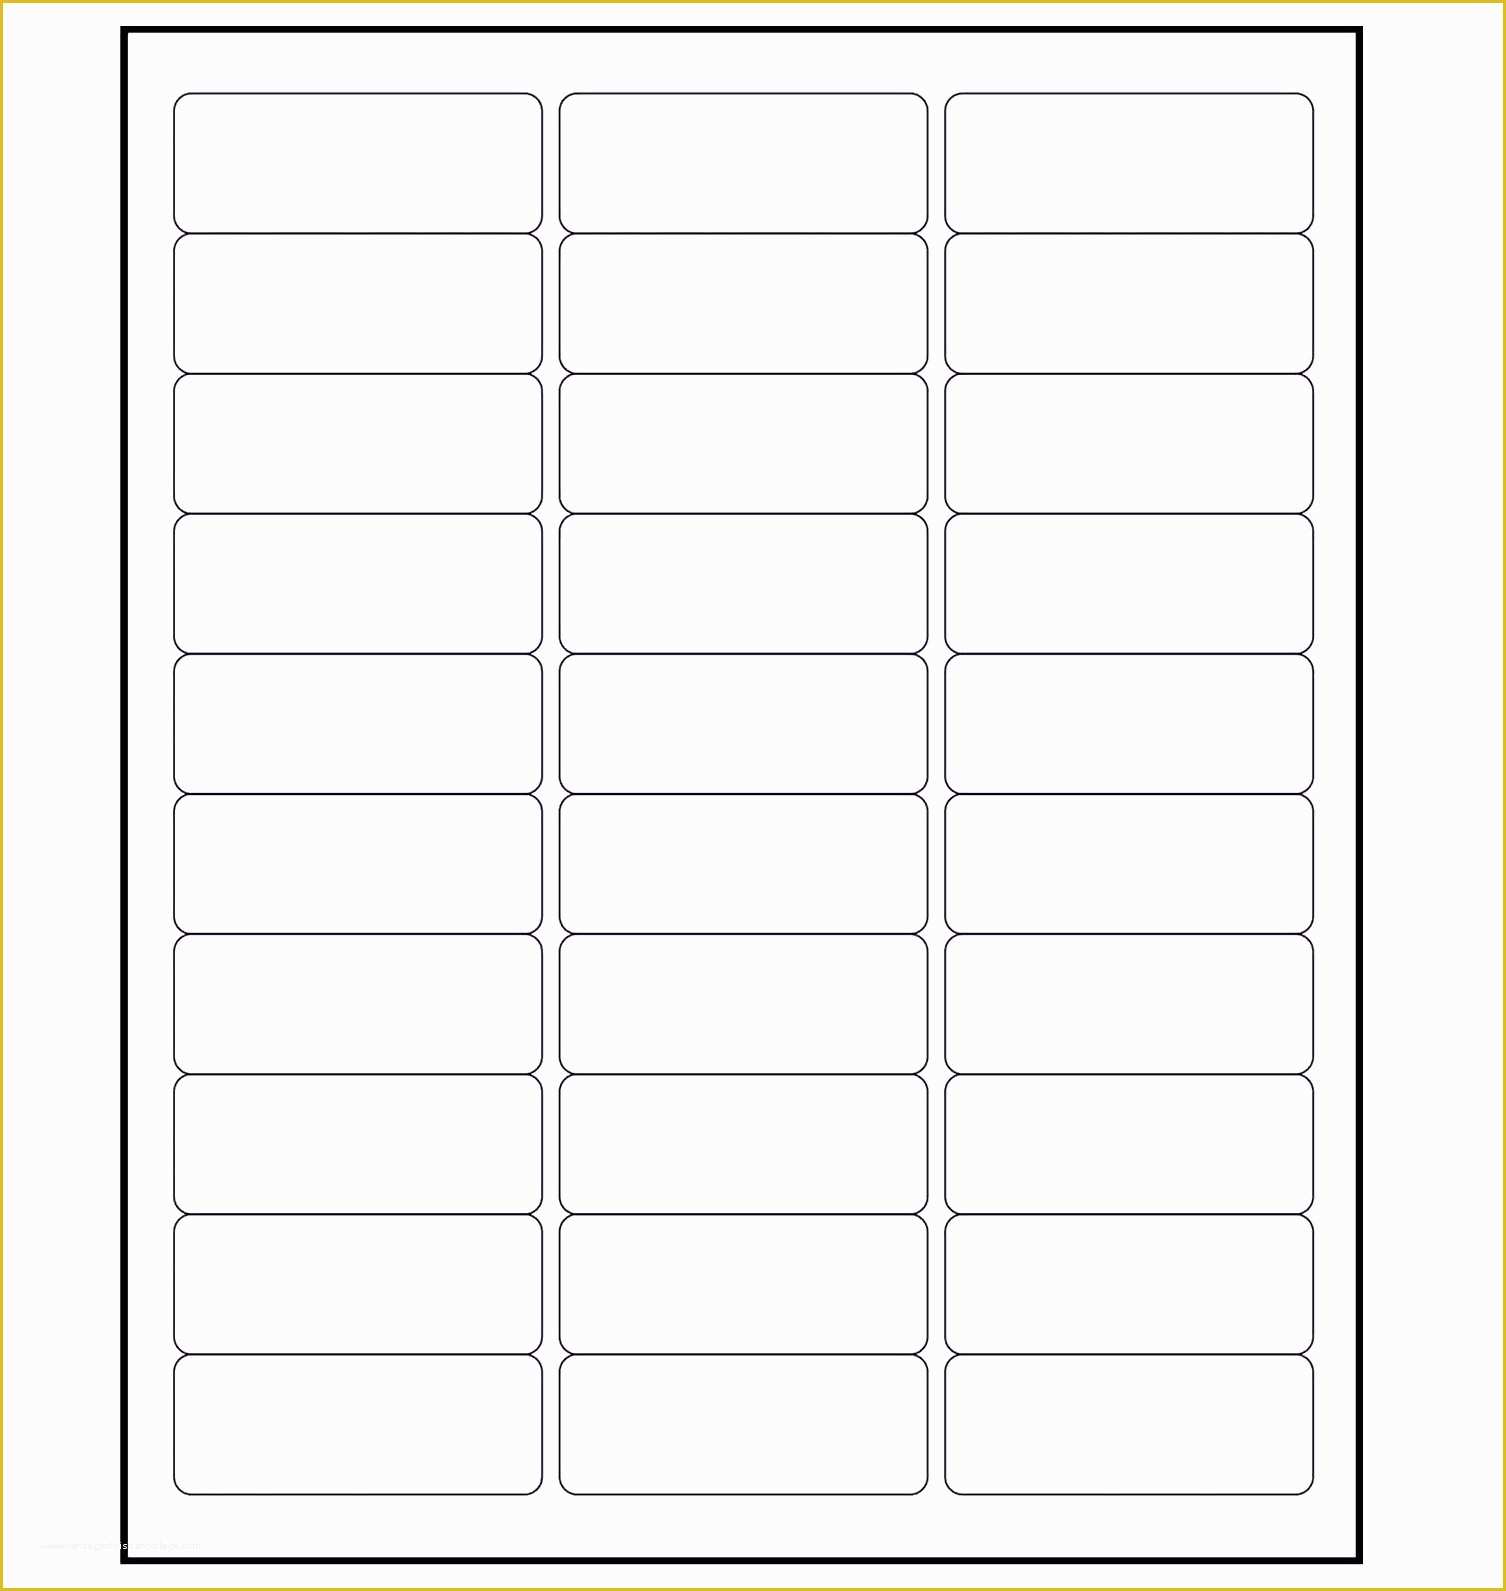
Templates eliminate the guesswork of margins, spacing, and label dimensions, ensuring each label aligns perfectly with the physical sheets you purchase. By standardizing the layout, you achieve a professional look that reflects attention to detail—whether you’re sending holiday cards, business invoices, or event invitations. Consistency also reduces waste; a single misaligned label can cost you an entire sheet, but a well‑crafted template guarantees every label lands exactly where it should.
Consistency and Professionalism
When you rely on a pre‑designed template, every label shares the same font size, line spacing, and logo placement. This uniformity creates a cohesive brand image, reinforcing trust with recipients. In contrast, manually typing each address often leads to variations that look amateurish and can even cause mailing delays if the address isn’t legible.
Time Savings and Error Reduction
Instead of re‑creating the same layout for each mailing campaign, you simply open the saved template, plug in a new address list, and hit print. This streamlined workflow dramatically cuts down on repetitive tasks and minimizes the chance of typographical errors that commonly occur when copying and pasting addresses one by one.
How to Access Built‑In Label Templates in Word

Step‑by‑Step Walkthrough
- Open Microsoft Word and select File > New from the ribbon.
- In the search bar, type “labels” and press Enter; a gallery of pre‑configured label templates appears.
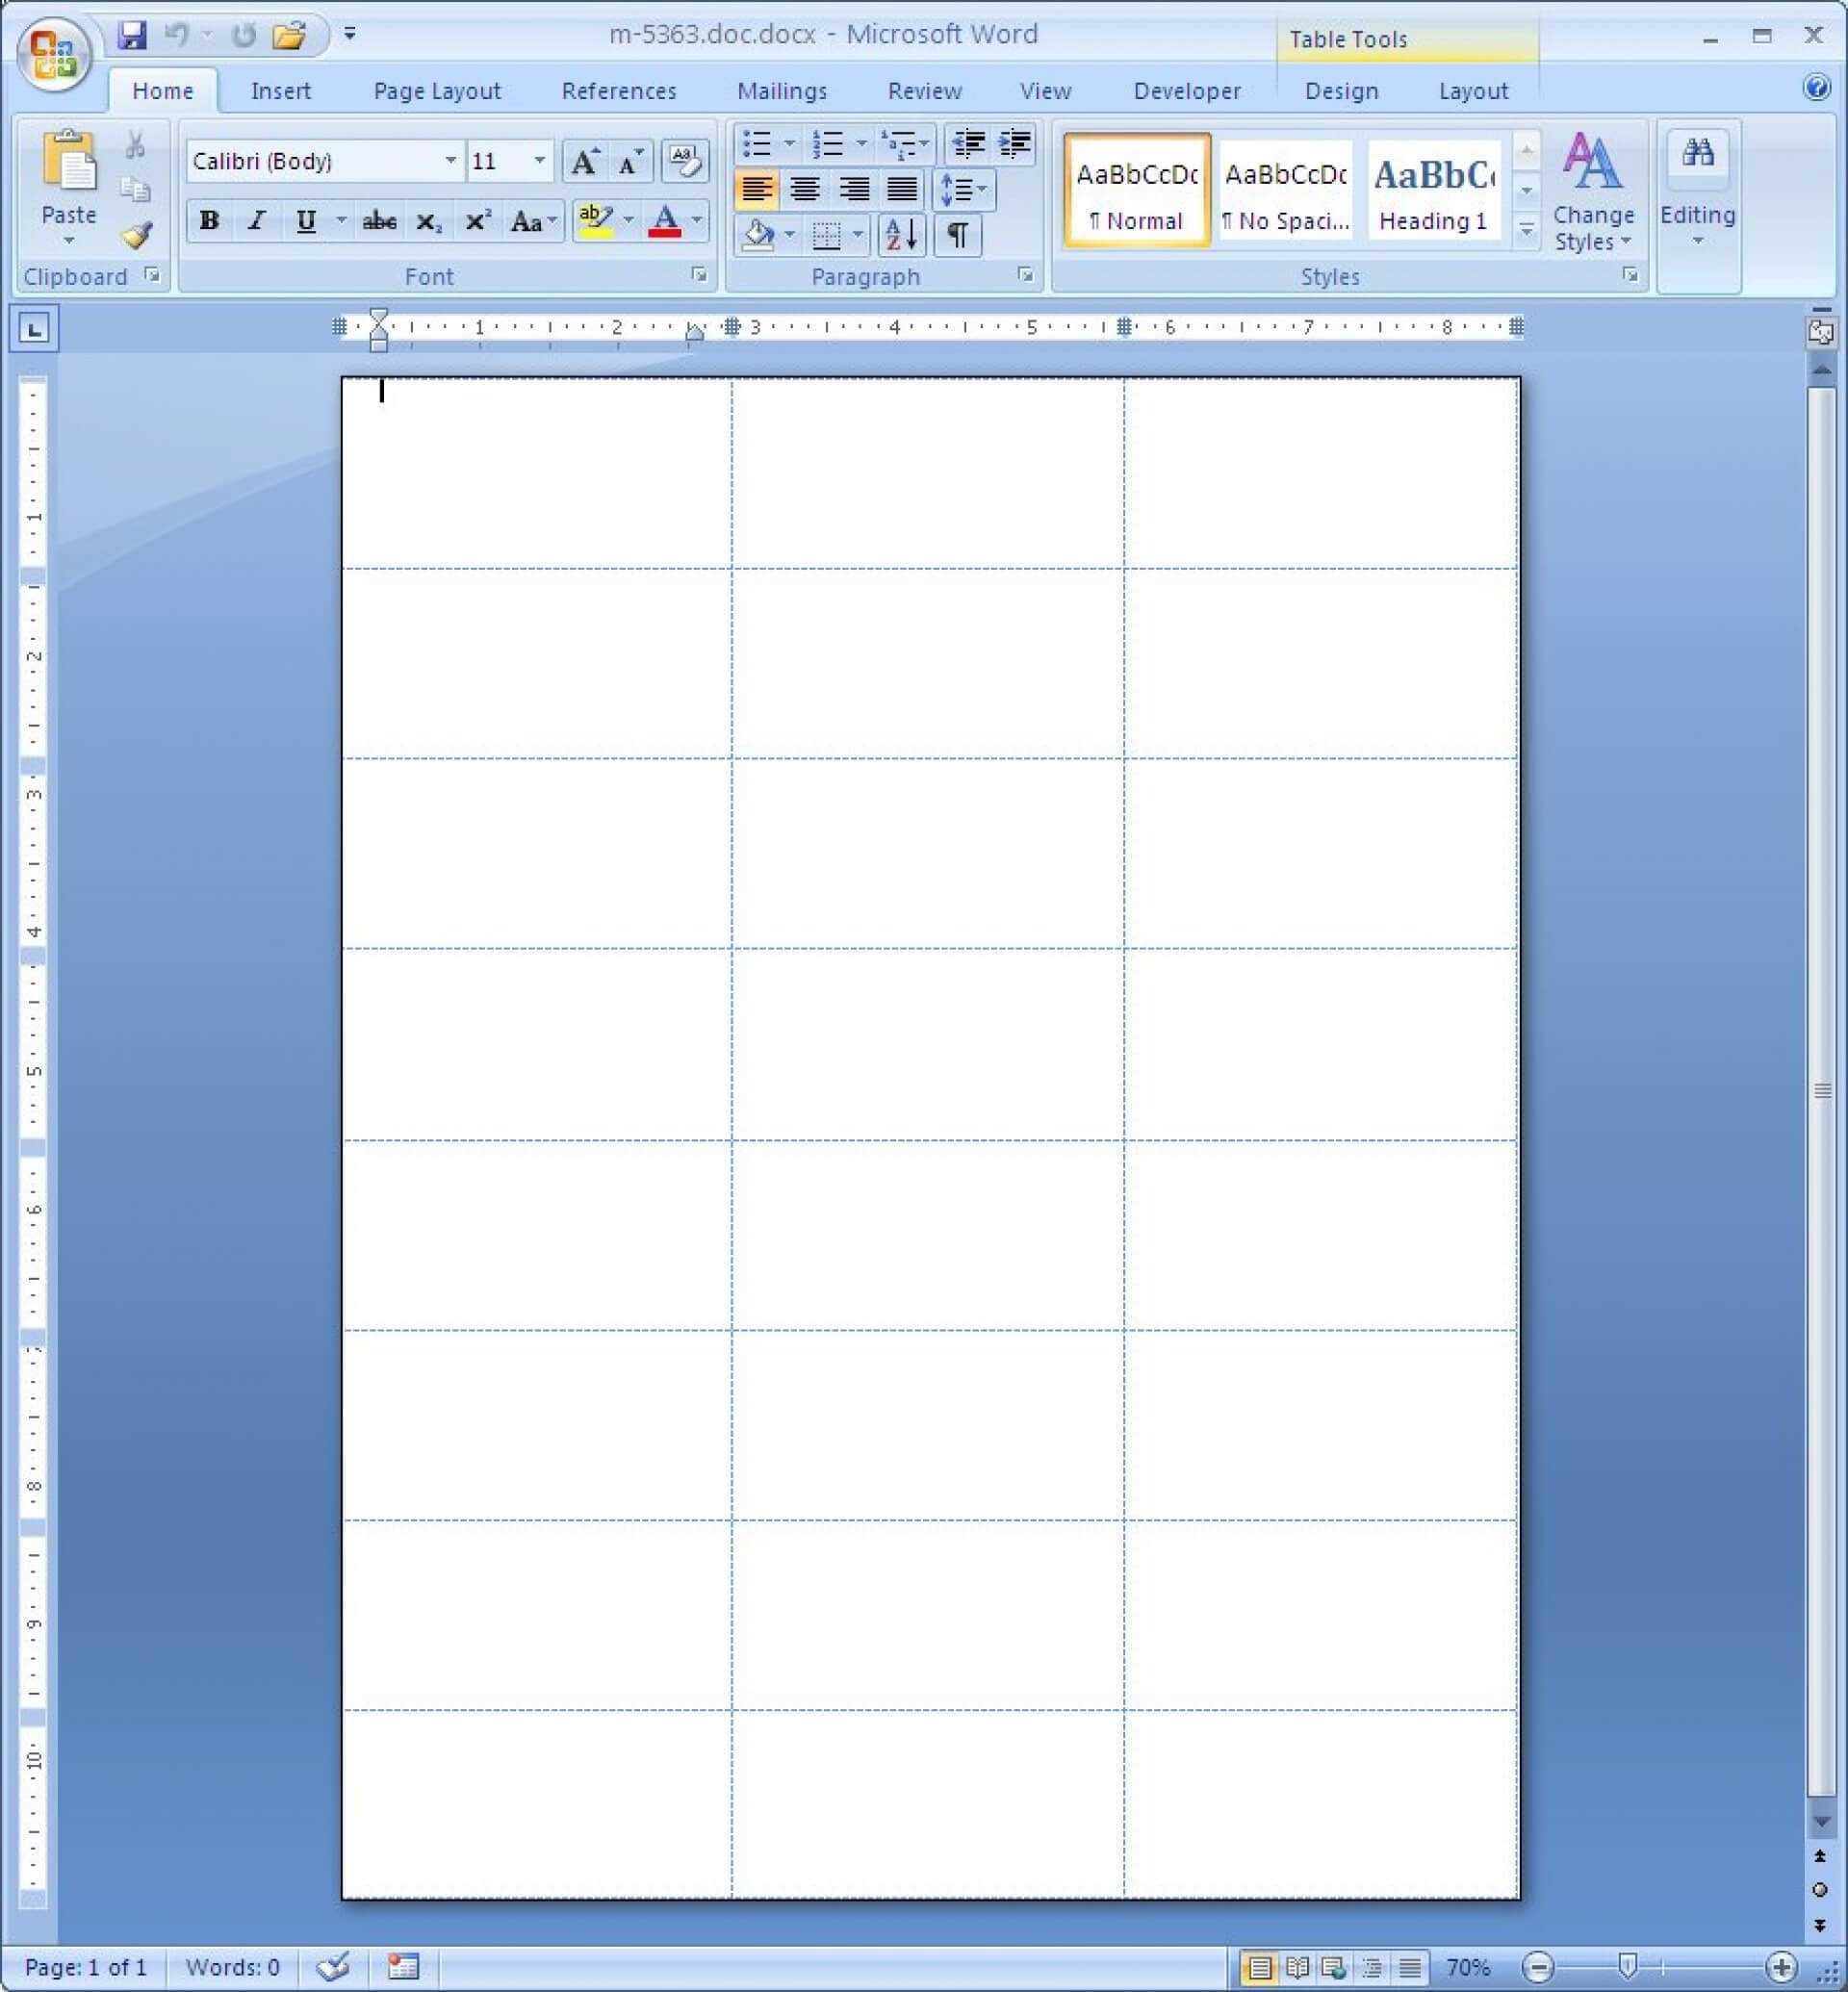
- Choose the label brand that matches your sheets (e.g., Avery 5160) and click Create. Word automatically sets the correct dimensions, margins, and column layout.
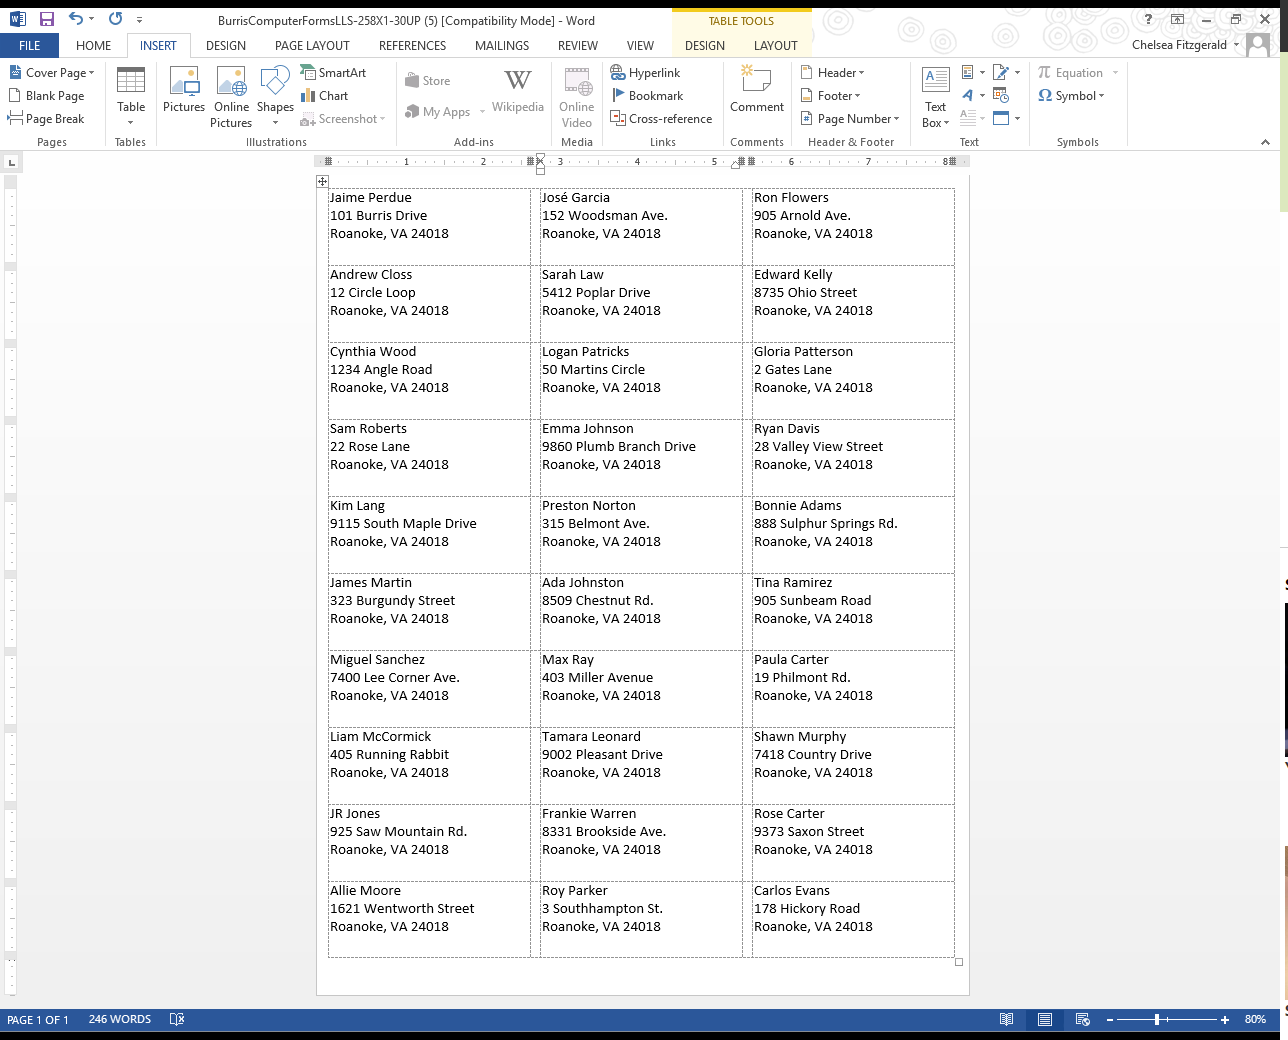
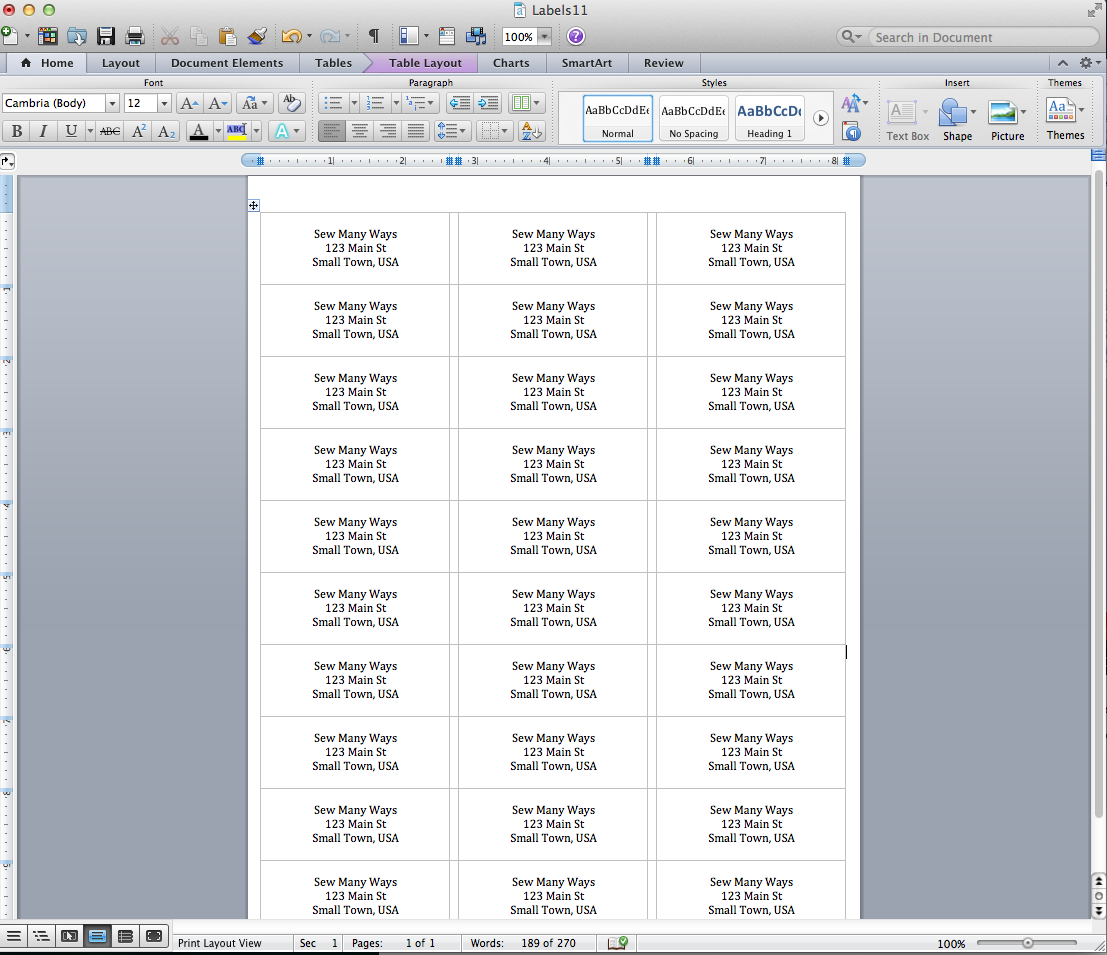
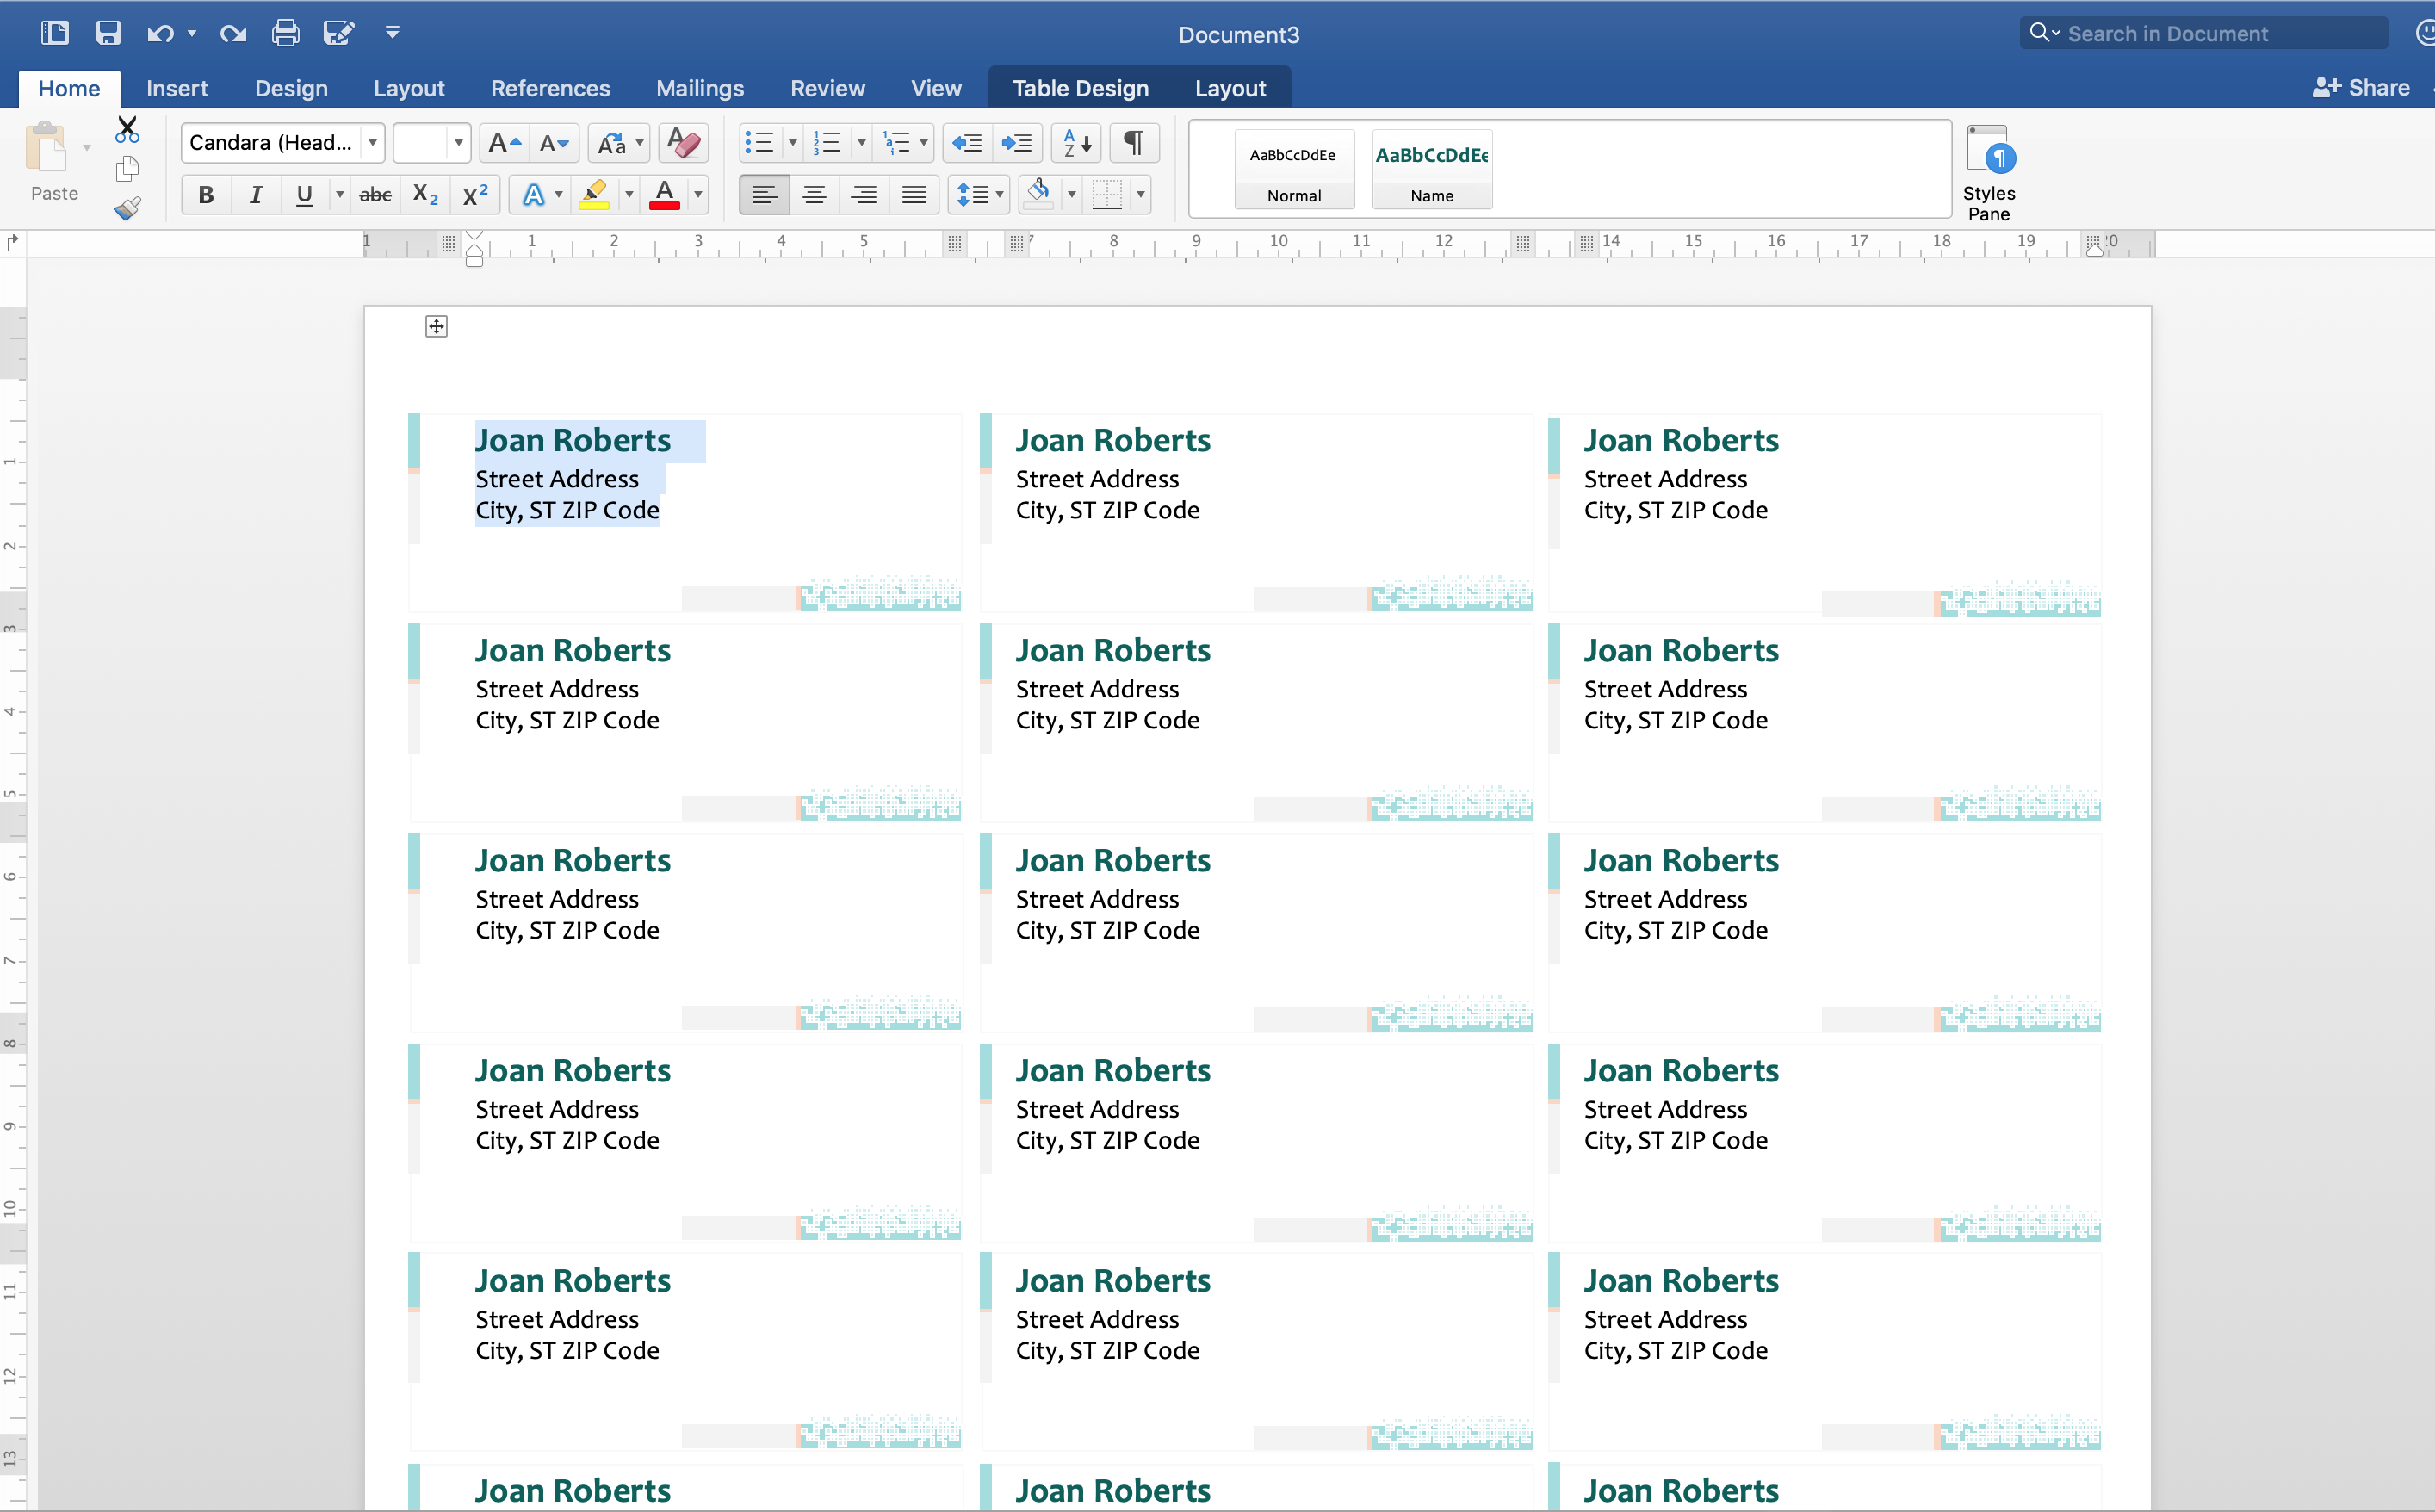
- The document now displays a grid of label placeholders. You can type directly into a placeholder or use Mail Merge to fill them automatically.
- Save this file as a template (
.dotx) for future use by selecting File > Save As and choosing “Word Template” from the file type dropdown.
Creating a Custom Label Template from Scratch

Setting Up the Page Layout
When a pre‑built template doesn’t match the exact size of your label sheets, you can design one manually. Start by opening a new blank document and navigating to Layout > Margins > Custom Margins. Input the top, bottom, left, and right margins that correspond to the unused border area of your label sheet—these values are typically printed on the packaging.
Next, go to Layout > Size and select “More Paper Sizes.” Enter the exact width and height of a single label, then click “OK.” To create a grid, use Layout > Columns and specify the number of columns per row, matching the label layout. Finally, insert a Table with the same number of rows and columns; this table acts as a visual guide and ensures consistent spacing.
Designing the Label Content
Within each table cell, format the text exactly as you want it to appear on the printed label. Use Styles to define a “Label Text” style that sets the font (e.g., Arial, 10 pt), line spacing (single), and alignment (left‑justified). Apply this style to every placeholder text block so that when you later replace the content, the formatting remains uniform.
Using Mail Merge to Populate Labels from an Address List
Preparing Your Data Source
Mail Merge works best with a clean spreadsheet or Access database that contains separate columns for each address component: First Name, Last Name, Street, City, State, ZIP. Remove any extra spaces, hidden characters, or duplicate rows to ensure a smooth merge process.
Save the spreadsheet as an Excel file (.xlsx) and keep it open while you set up the merge. This makes it easier to troubleshoot any field mismatches.
Connecting the Data Source to Your Template
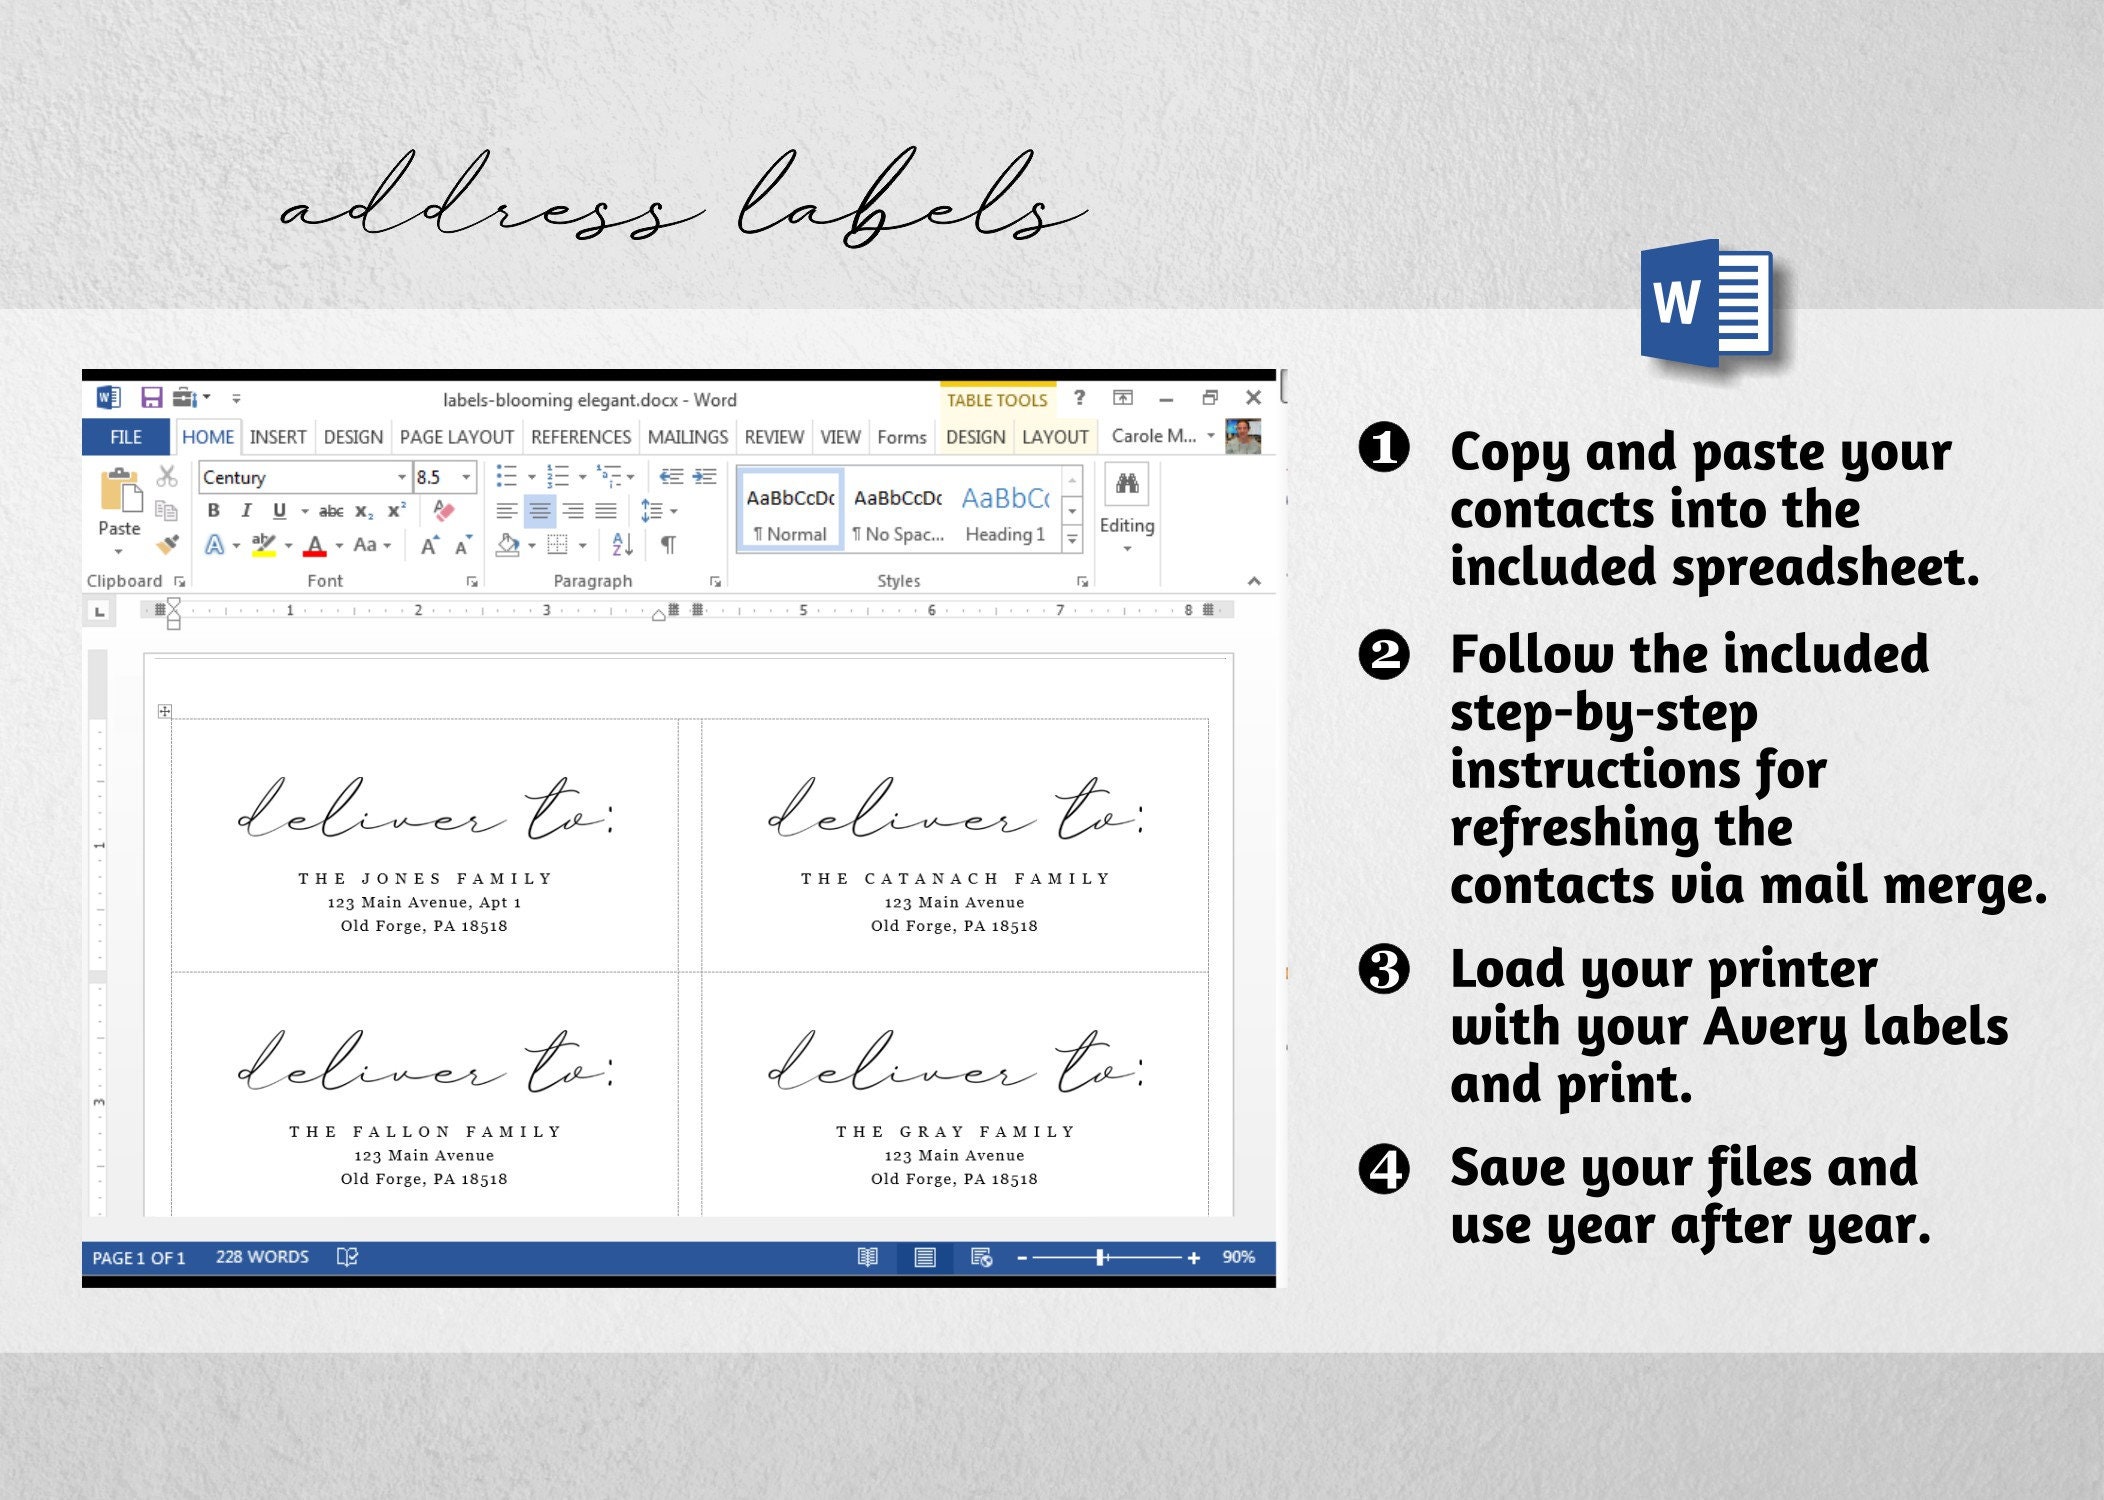
- With your label template open, go to Mailings > Start Mail Merge > Labels. Choose the same label product you used to design the template.
- Click Select Recipients > Use an Existing List and browse to your Excel file. Select the appropriate worksheet and confirm the column headers.
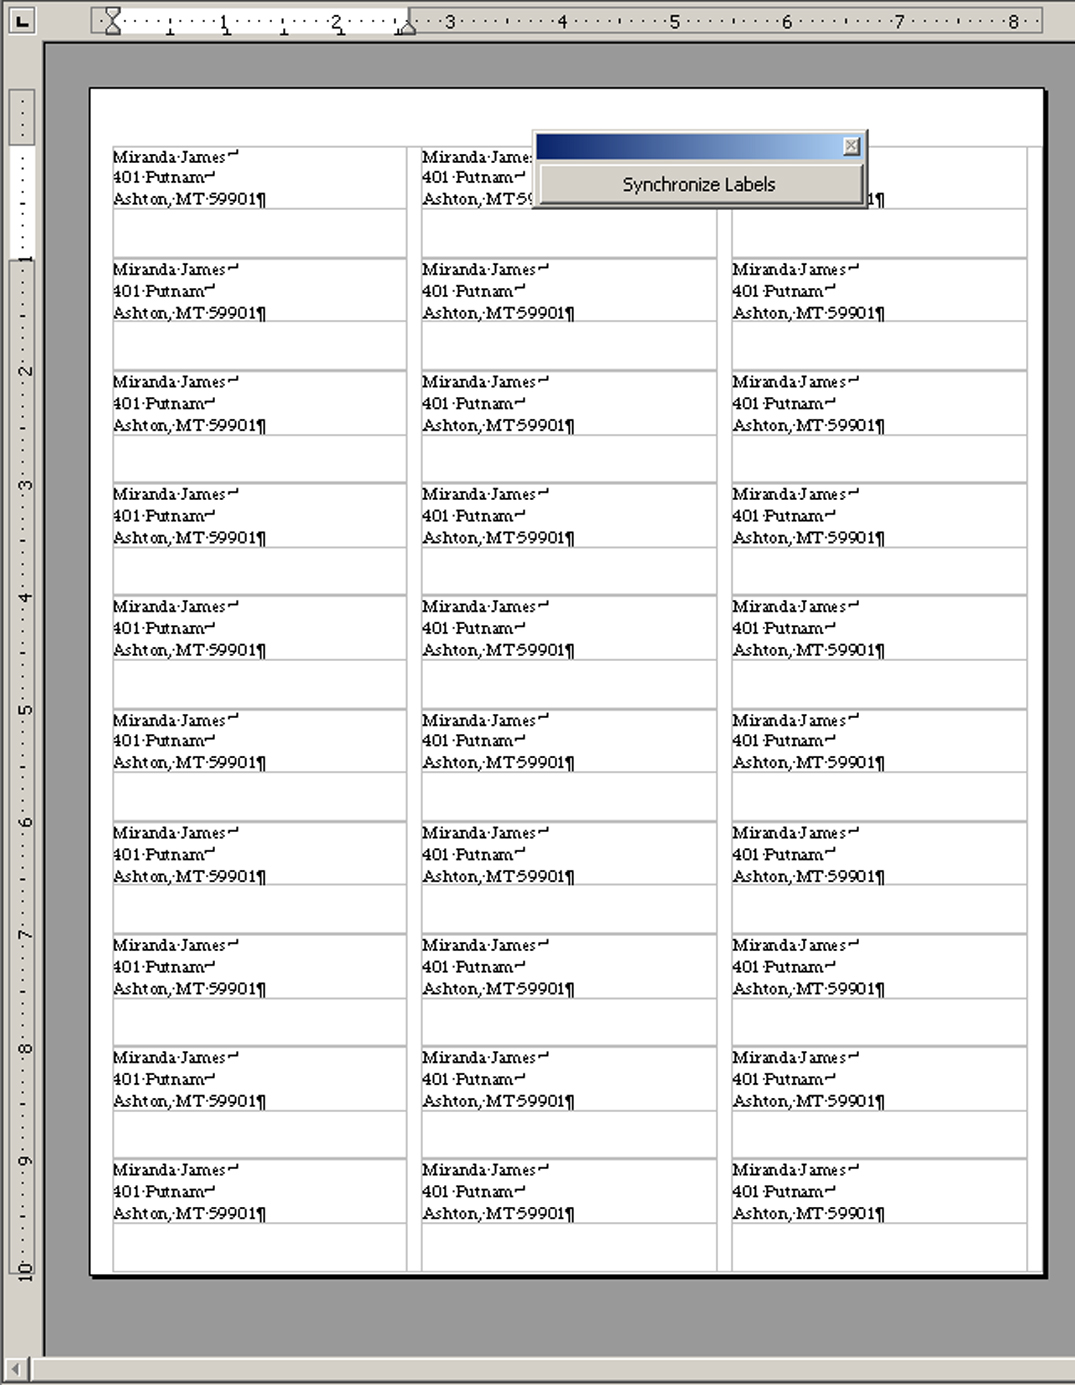
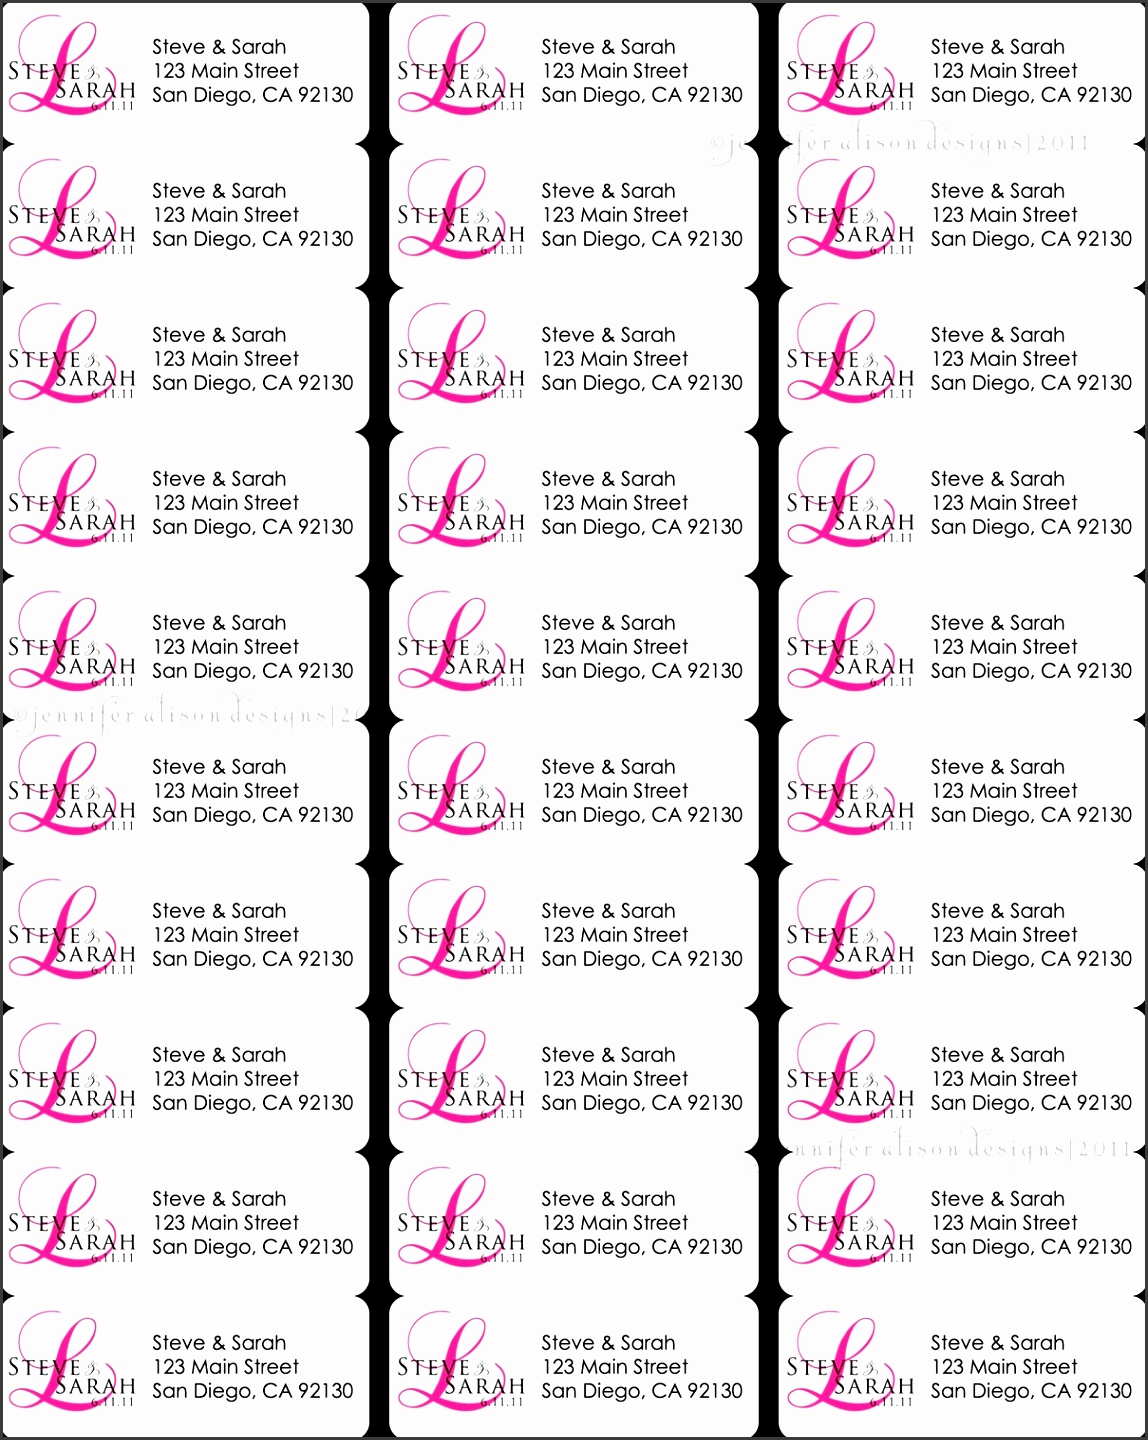
- Place the cursor inside the first label cell, then click Insert Merge Field. Choose the fields in the order they should appear, adding line breaks (Shift+Enter) between each field to keep the address tidy.
- Click Update Labels to replicate the merged fields across all label cells.
- Preview the results with Mailings > Preview Results. If everything looks correct, click Finish & Merge > Print Documents or Edit Individual Documents for a final review.
Troubleshooting Common Merge Issues
If you see “<FieldName>” placeholders instead of actual data, double‑check that the column headers in your Excel file exactly match the field names you inserted. Ensure there are no hidden spaces in the header row. For addresses that wrap incorrectly, adjust the label’s text box or reduce the font size slightly.
Design Tips for Eye‑Catching Labels
Choosing Fonts and Colors
Readability is paramount. Use sans‑serif fonts such as Calibri, Helvetica, or Verdana for the main address lines. Reserve decorative fonts for a small header or company name, but keep them under 12 pt to avoid clutter. If you opt for colored text, verify that the printer you’ll use can handle color label stock; otherwise, stick to high‑contrast black on white for reliable results.
Incorporating Logos and Graphics
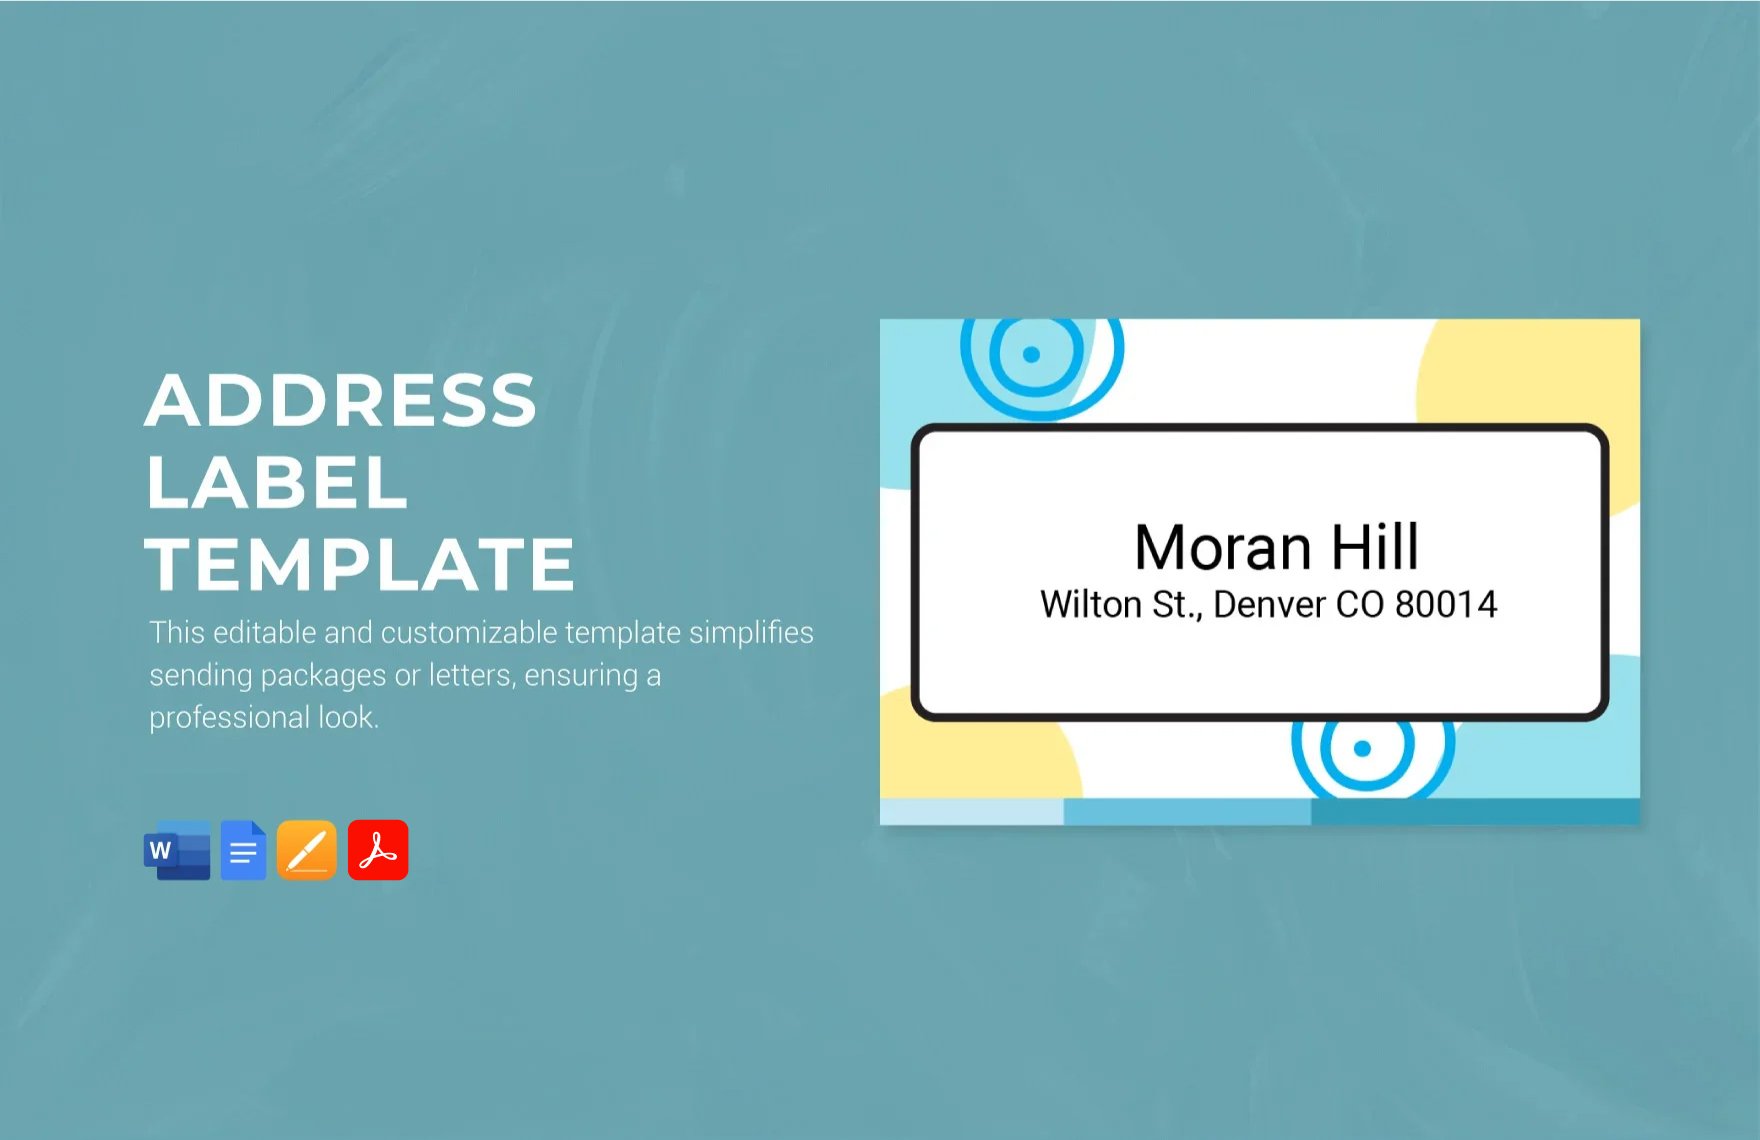
Insert a high‑resolution (300 dpi or higher) logo at the top‑left corner of the label cell. To keep the logo from scaling oddly, right‑click the image, select Size and Position, and lock the aspect ratio while setting explicit dimensions (e.g., 0.75 in × 0.75 in). Use the Wrap Text > Behind Text option so the address text flows around the graphic without disrupting alignment.
Adding a Personal Touch
Consider including a brief, customized note for special occasions. With Mail Merge, you can add a field for “Message” that pulls a short sentence from a separate column, allowing each recipient to receive a unique greeting without manual editing.
Printing Best Practices

Paper Selection and Alignment
Choose label sheets that are compatible with your printer—laser‑friendly labels for laser printers, inkjet‑safe sheets for inkjet models. Before loading the full stack, run a single sheet through a test print to confirm alignment. Adjust the printer’s “Media Type” setting to “Labels” if available, as this often disables automatic scaling that can shift the content.
Test Prints and Avoiding Common Errors
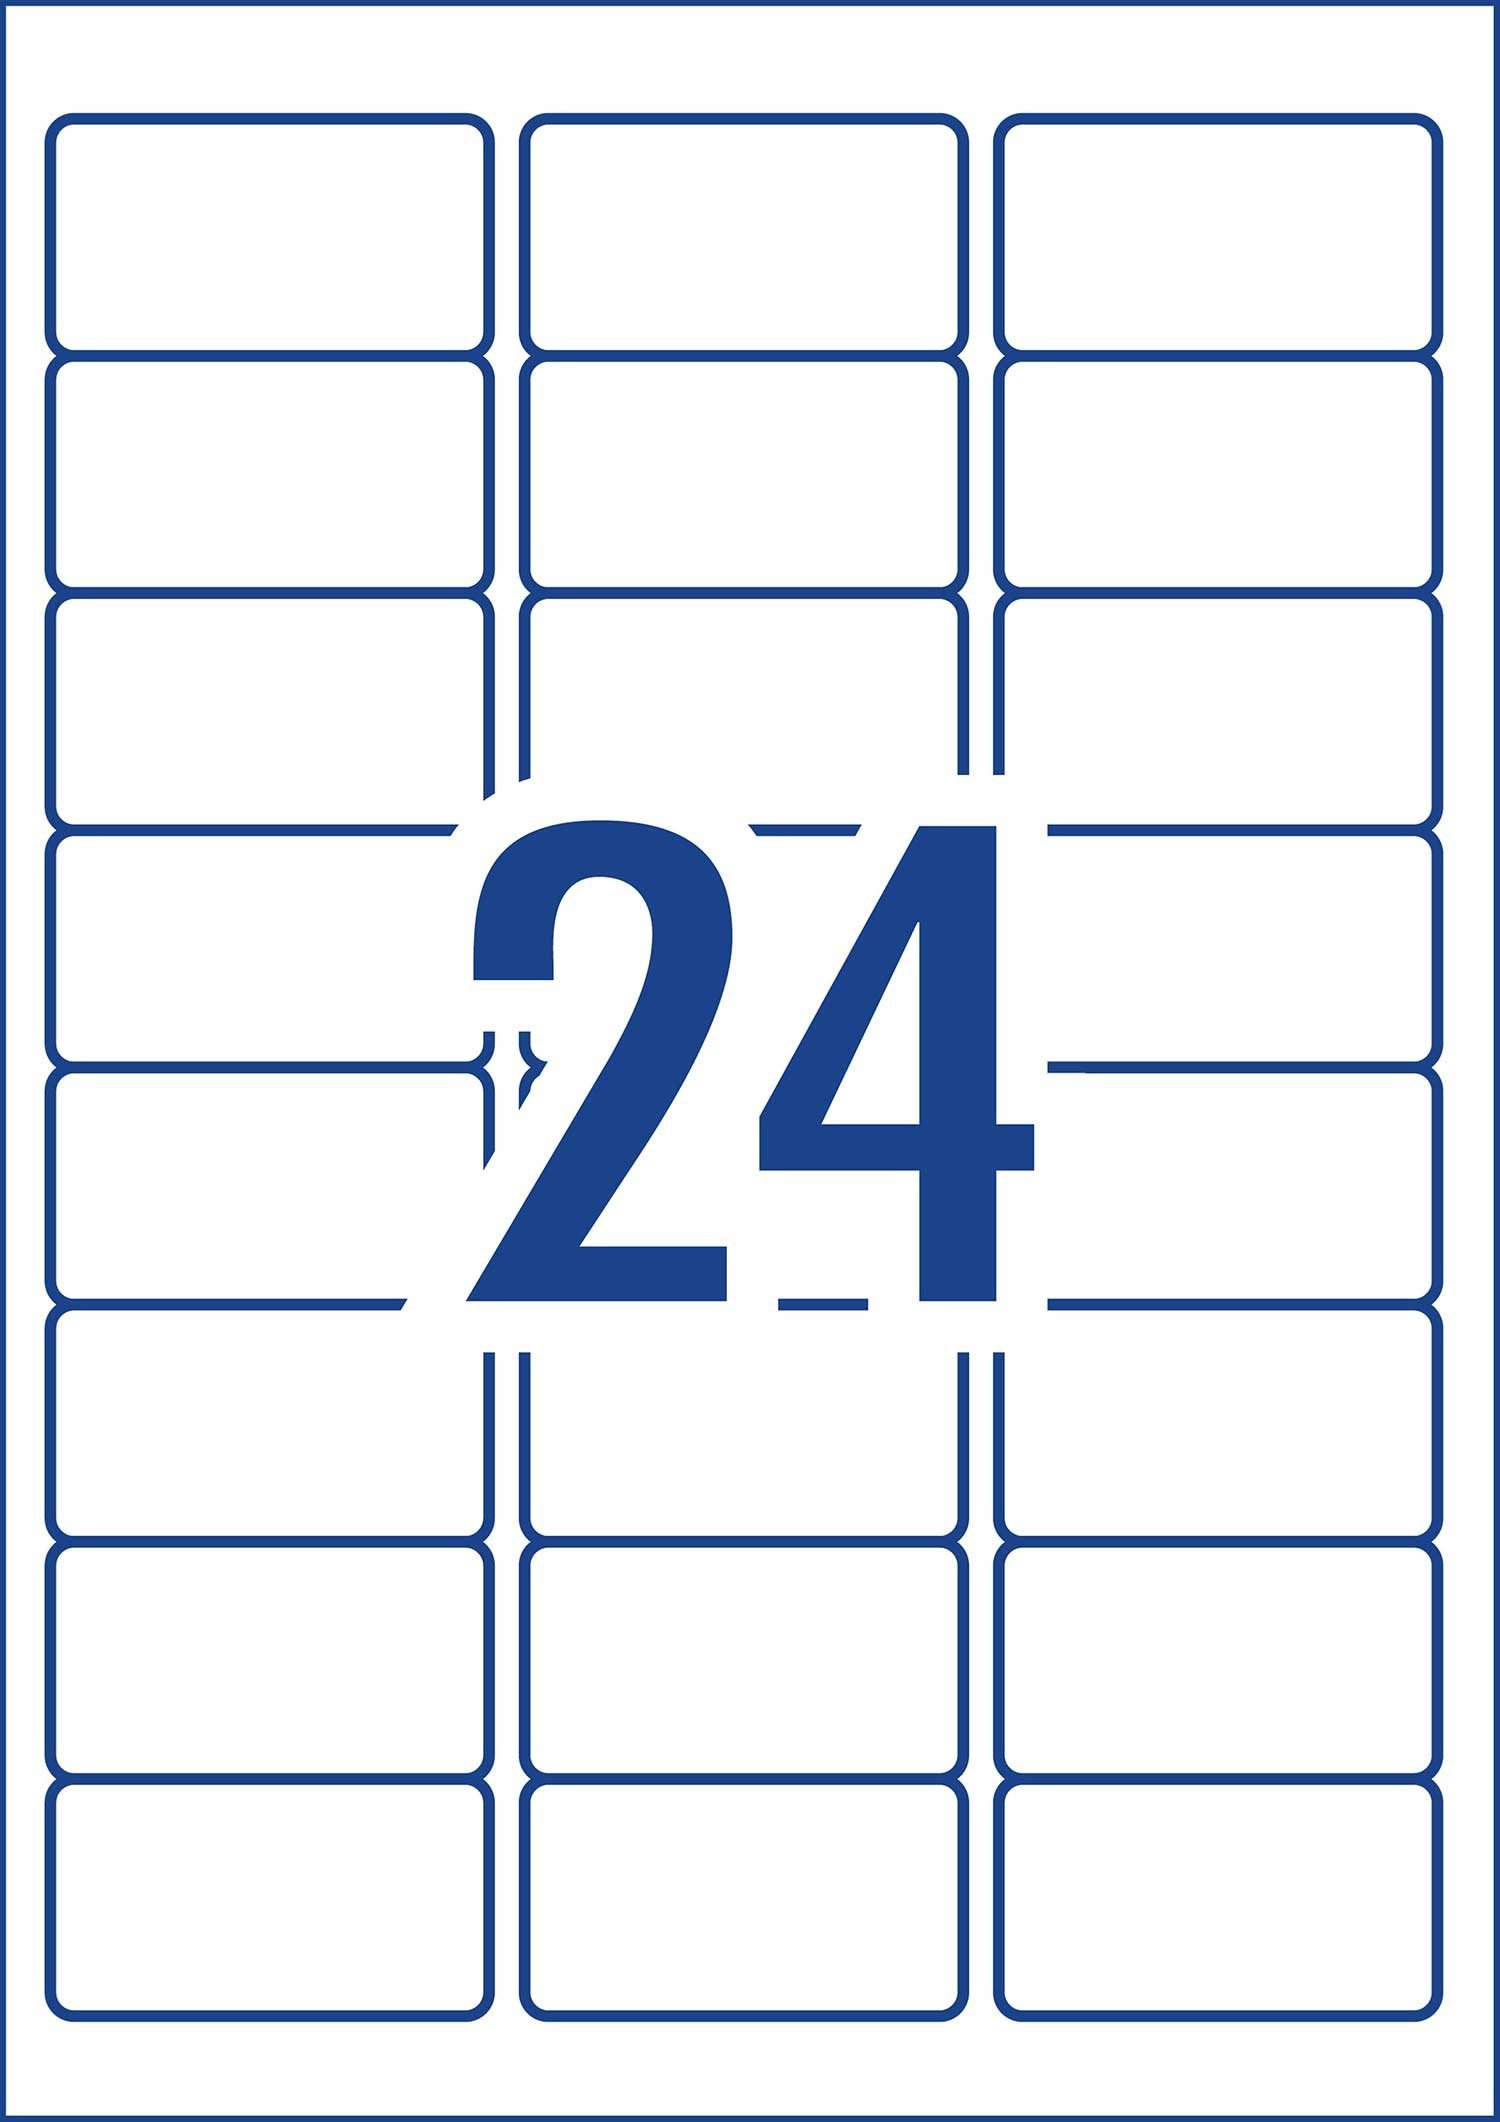
Print a “blank” page (with only the label outlines visible) on regular paper first. Hold the printed sheet up to a window to compare the grid against the actual label outlines; any misalignment will be obvious before you waste expensive label stock. If you notice a shift to the right, modify the left margin by a fraction of an inch (e.g., 0.05 in) and retest.
Handling Misfeeds and Smudging
Label sheets are thinner than standard paper and can jam more easily. Keep the printer tray clean, and avoid over‑filling it. If the printer uses a duplex unit, disable double‑sided printing for labels, as the adhesive side can interfere with the roller mechanism.
Saving and Reusing Your Label Template

Saving as a Word Template (.dotx)
After perfecting your design, choose File > Save As and select “Word Template (*.dotx)” as the format. Store the file in the default “Custom Office Templates” folder so it appears directly under the “Personal” tab when you start a new document. This makes it a one‑click solution for any future mailing campaign.
Version Control and Documentation
Maintain a simple change log inside the template file (e.g., a hidden comment at the top) noting the date, label product, and any design tweaks. This habit prevents confusion when multiple team members access the same template and helps you revert to a previous version if a new change causes alignment issues.
Advanced Customizations
Conditional Formatting in Mail Merge
Word’s field code syntax allows you to apply conditional logic. For example, you can display “Attn:” only when a “Contact” field is not blank:
IF MERGEFIELD Contact <> "" "Attn: MERGEFIELD Contact " ""
Insert this code by pressing Ctrl+F9 to create the curly braces, then typing the expression inside. This technique personalizes each label without manual editing.
Embedding QR Codes or Barcodes
QR codes can link to a website, calendar event, or digital business card. Generate a QR code image using a free online tool, save it as a PNG, and insert it into the label template. To keep the code crisp, set the image size to at least 0.5 in × 0.5 in. For bulk generation, consider a VBA macro that pulls a unique URL from your data source and inserts the corresponding QR image automatically.
Using Macros for Repetitive Tasks
If you frequently need to adjust margins, switch label products, or apply a specific style, record a macro that captures those actions. Assign the macro to a custom button on the Quick Access Toolbar for instant reuse. This automation layer saves seconds on each batch, which adds up dramatically over multiple campaigns.
Conclusion

Mastering Template For Address Labels In Word transforms a mundane mailing task into a streamlined, error‑free process that projects professionalism and saves valuable time. By leveraging built‑in templates, customizing layouts to match any label stock, integrating dynamic data through Mail Merge, and applying design principles that make each label stand out, you gain full control over every detail from the first address entry to the final printed sheet. Follow the printing best practices, preserve your work as reusable .dotx files, and explore advanced features like conditional fields and QR codes to keep your label workflow both efficient and future‑proof. With these tools and techniques at your fingertips, every mailing campaign will look polished, arrive on schedule, and leave a lasting impression on your recipients.